In today's Paint.NET tutorial, I'll show you how to create a Kaleidoscope effect digitally from a given image. We'll start by drawing a rectangle selection, create a triangle image using the Rectangle Select Tool and the Delete key, duplicate, rotate and merging the image several times to form a kaleidoscope. Let's get started!
1. Open Image in Paint.NET
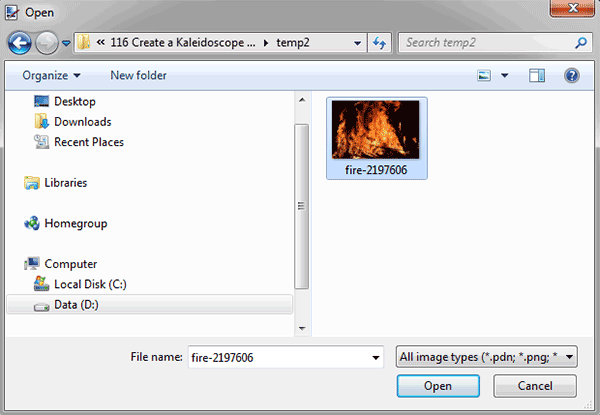
Go to File>Open... (or Ctrl+O) to open your image.
Use the Navigation pane on the left to navigate to a location on your computer where you have your images.
Click the image you want to open, then click Open.
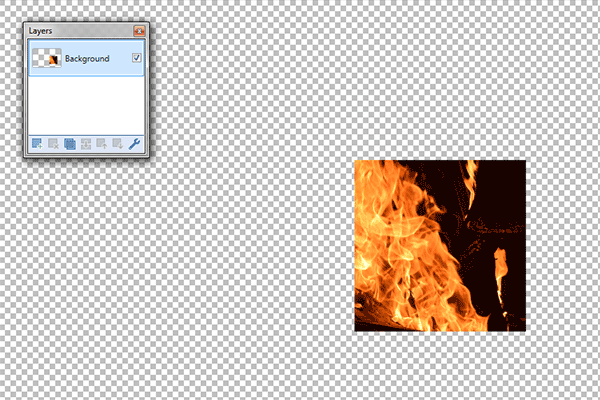
The opened image displayed in the Editing Window.
The Open dialog.
For this Paint.NET tutorial, I'll use this image, 2197606, downloaded from Pixabay.
The opened image displayed in the Editing Window.
2. Grab the Rectangle Select Tool (S) from the Tools Window to draw a square selection
Grab the Rectangle Select Tool (S) from the Tools Window.
In the Options bar, choose “Replace”.
The Rectangle Select Tool.
3. Draw a Rectangle Selection
Click, hold and drag your mouse to choose a portion of the document while holding down the Shift key to keep the selection doesn't distort.
Just leave the mouse when you are done.
You should see a dotted line or marching ants outline the selection.
Now, the selected portion of the document, in a rectangle shape, has been picked or selected.
If you want to move the selection, grab the Move Selection tool in the Tools window then click anywhere inside the selection and drag to the position you want.
Click, hold and drag your mouse to choose a portion of the document while holding down the Shift key to keep the selection doesn't distort.
4. Invert The Selection
Use Edit>Invert Selection (or Ctrl+I) to inverts the rectangle selection in the current layer.
Now all of the layer contents which were previously outside of the rectangle selection are inside it.
Now all of the layer contents which were previously outside of the rectangle selection are inside it.
5. Delete Everything in the Current Selection
Use Edit>Erase Selection (or just press the Delete key) to delete everything in the current selection.
Delete everything in the current selection.
6. Rotate The Square By 60 degrees
Use Layers>Rotate/Zoom to rotate the square image by 60 degrees.
Rotate the square image by 60 degrees.
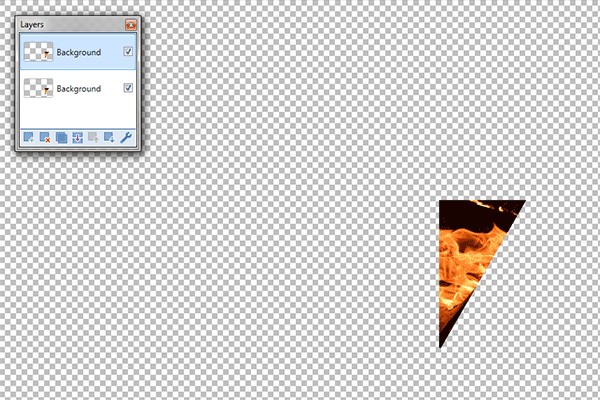
7. Create a Triangle Image Using the Rectangle Select Tool and the Delete key
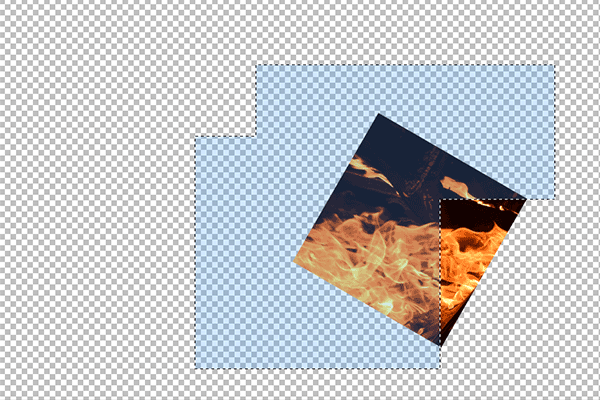
Grab the Rectangle Select tool again. On the Tools Options dialog choose “Add (union)”.
Create two square selection and then press the Delete key or use Edit>Erase to remove everything inside the selection.
Create two square selection.
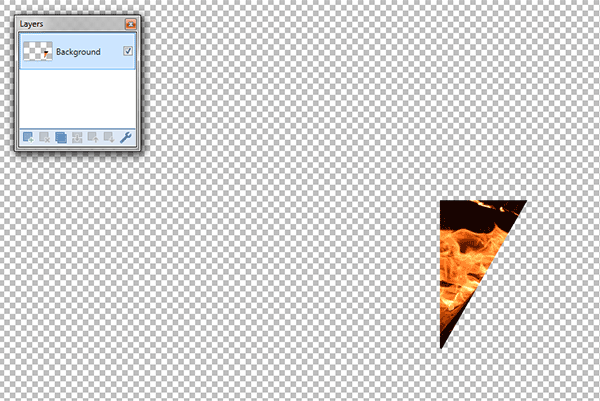
Press the Delete key.
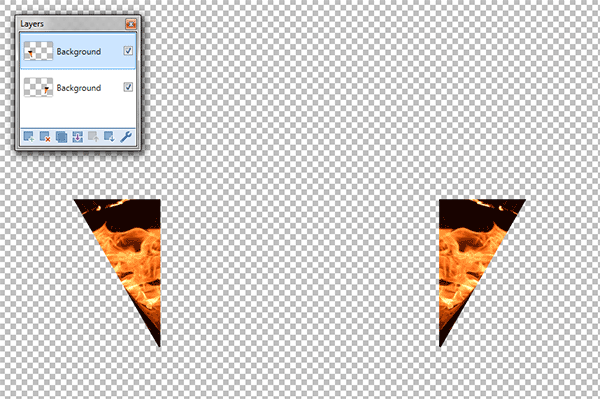
8. Duplicate The Triangle Image, Flip Horizontal and then Merge Layer
Use Layers>Duplicate Layer to duplicate the triangle image.
Use Layers>Flip Horizontal to flip it horizontally.
Use the Move Selected Pixels tool to align both triangle images.
Move the image using your mouse or the arrow key.
Then merge the two layers using Layers>Merge Layer Down.
Now we have a new pattern still in a triangle shape.
Use Layers>Duplicate Layer to duplicate the triangle image.
Use Layers>Flip Horizontal to flip it horizontally.
Use the Move Selected Pixels tool to align both triangle images.
Then merge the two layers using Layers>Merge Layer Down.
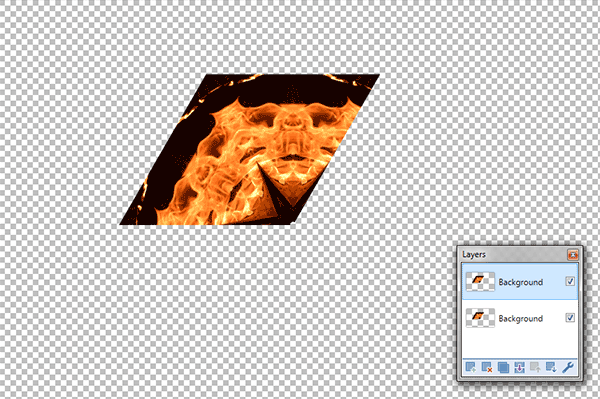
9. Duplicate The New Image, rotate by 60 degrees and then merge layer
Use Layers>Duplicate Layer to duplicate the triangle image.
Use Layers>Rotate/Zoom to rotate the layer by 60 degrees, make sure to reset all settings to default first.
Use the Move Selected Pixels tool to align both images.
You can move the image using your mouse or the arrow key.
Now we have a new pattern in 4 sided polygon shape.
Use Layers>Duplicate Layer to duplicate the triangle image.
Use Layers>Rotate/Zoom to rotate the layer by 60 degrees.
Use the Move Selected Pixels tool to align both images.
Then merge the two layers using Layers>Merge Layer Down.
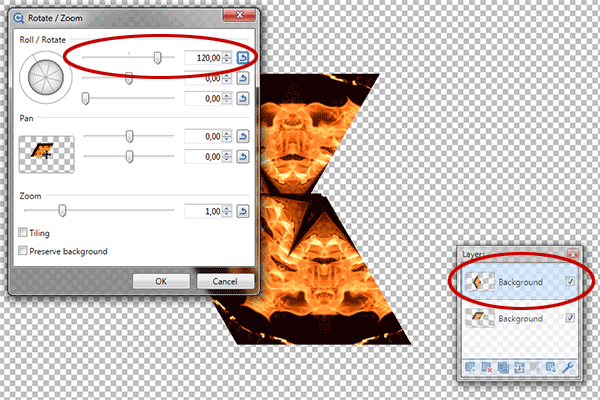
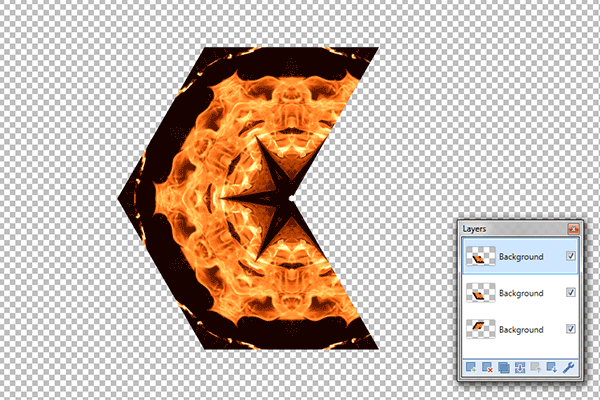
10. Duplicate the New Image, rotate by 120 degrees and then align it
Use Layers>Duplicate Layer to duplicate the new image.
Rotate the duplicate layer by 120 degrees using the Rotate Tool, make sure to reset all settings to default first.
Align it using the Move Selected Pixels tool.
Now we have two layers both in 4 sided polygon shape.
No need to merge layers at this step.
Use Layers>Duplicate Layer to duplicate the new image.
Rotate the duplicate layer by 120 degrees using the Rotate Tool.
Align it using the Move Selected Pixels tool.
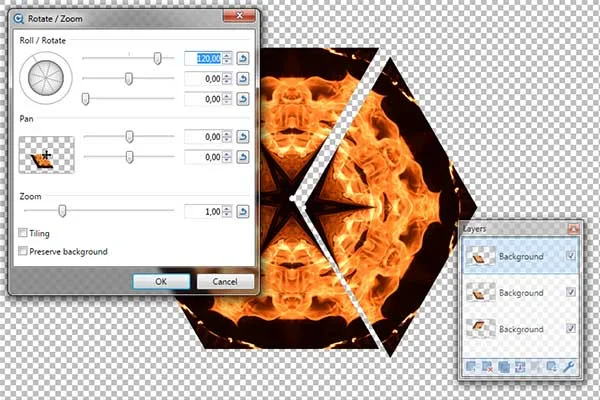
11. Duplicate The Top Layer, Rotate by 120 degrees and then align it
Use Layers>Duplicate Layer to duplicate the top layer, rotate the duplicate layer by 120 degrees using the Rotate Tool and then align it using the Move Selected Pixels tool.
Now we have three layers in 4 sided polygon shape.
Use Layers>Duplicate Layer to duplicate the top layer.
Rotate the duplicate layer by 120 degrees using the Rotate Tool.
Align it using the Move Selected Pixels tool.
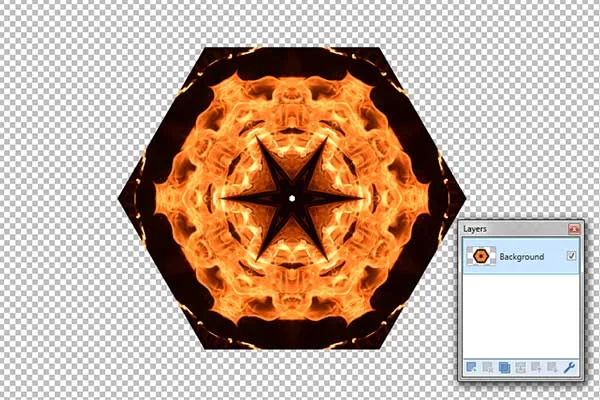
12. Merge All Layers
Merge all layers using Layer>Merge Down.
Merge all layers.
13. Duplicate The Hexagon Layer and Align it
Duplicate the final image using Layers>Duplicate Layer, and arrange it all using the Move Selected Pixels, to your satisfaction.
Duplicate the hexagon layer and align it.
14. Save Your Document
At last, use File>Save (or Ctrl+S) to save your project file.
In the Save As window, navigate to the folder where you want to store your project file.
Type a name in the File name text box and leave the default Paint.NET (*.pdn) format.
Pdn is Paint.NET's native format and is useful because it stores everything about your image and will allow you to later edit your image in Paint.NET, in case you notice a problem.
Click Save to store the project file.
Once you have finished, you will probably also want to export the image in a more widely used format, such as JPEG, PNG, TIFF, etc.








No comments:
Post a Comment