GIMP is a cross-platform image processor available for Windows, GNU / Linux, OSX, and other operating systems.
First made in 1995 by Spencer Kimball and Peter Mattis.
We can use GIMP for image-retouching and editing, free drawing, cropping, image resizing, photo montage, photo conversion between different formats, and more.
GIMP is a free-software, we can change the source code and distribute the changes.
You can visit the official website of GIMP for free download.
Here is a list of GIMP tutorials for beginners. GIMP is a free picture editing program available for Linux and Windows operating system.
If you liked my tutorials, please subscribe to my YouTube channel - JTSGraph.
Page 1 2
38. How to Create a Graffiti Effect in GIMP
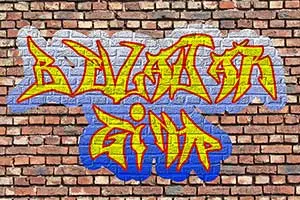
In today's tutorial we'll learn How to Create a Graffiti Effect in GIMP. Free photo processing application GIMP, has Bump Map Filter. We can use this filter to create a graffiti effect. This filter will make the text that we make look blended with the background photo.

Learn how to create stickers with GIMP. Making Stickers Using GIMP can be done by making a selection, filling the selection using the color we want, then adding a drop shadow filter. You can fill in the sticker using a photo or just text using the Text Tool. The sticker fold effect can be created by making a selection, cutting the selection and pasting it on a separate layer, then our cut results are rotated 180 degrees. For the shadow of the sticker folds, we can use the Paintbrush Tool. Please follow the steps below for how to make stickers using GIMP!
In today's tutorial we'll learn how to create a transparent text effect in GIMP. The first step is to create a transparent layer on top of the photo, then fill it with the color we want, adjust the photo layer size, write text on the canvas, make a selection from the text we made and finally delete the transparent layer according to the text selection.
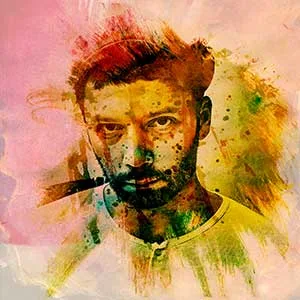
Learn how to turn a picture into a Watercolor in GIMP. We'll create the watercolor effect using different textures and different layer's modes. Add the texture to canvas using Open as layers command and scale it using the Scale tool. Once you have arranged it to your satisfaction, you can play around with other Blend Modes.
34. How to remove background in GIMP (using Paths Tool)
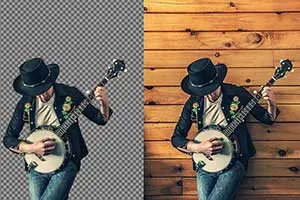
In today's tutorial, We're going to learn how to remove background in GIMP and make it transparent using Paths tool. The Paths tool is all about drawing path. Draw the path around the subject by clicking successively. You can create curves by dragging on a new node or segment. Ctrl + Click on the Final node to close the Loop. To make selections with the Paths Tool, we simply convert the path we've drawn into selections.
33. Sharpen an Image in GIMP (High Pass Filter)
In this tutorial, I will show you how to sharpen an image in GIMP 2.10.14 using the High pass filter. Sharpening works by increasing contrast at edges in the image. Remember to reduce image noise before sharpening so that you don’t intensify the noise. The best way to sharpen an image is by using separate layers. Make separate layers for noise reduction and high pass filter.
32. Create Blueprint Effect in GIMP
In today's tutorial, I'm going to show you how to create a Blueprint Effect In GIMP using the Paths tool to trace around the main image, desaturate the image's layer using Color>Hue-Saturation, using Filters>Edge-Detect>Edge to transforms the image's layer into a line drawing, using Edit>Stroke Selection to add a white stroke to the image and using Filter>Render>Pattern>Grid to create the grid pattern.
In today's GIMP tutorial, I'll show you how to create a Kaleidoscope effect in GIMP. Kaleidoscope is a geometric shape composed of shapes and colors with a symmetrical arrangement. We will try to make a kaleidoscope digitally using GIMP from a given image. Once the image is open in GIMP, we'll build up the kaleidoscope by creating a triangle shape, duplicating, rotating, and merging the layer several times to achieve symmetry.
In this tutorial, I'll show you how to create a puzzle photo collage in GIMP. We will use render filter to create a jigsaws pattern, the Fuzzy Select Tool to select jigsaws piece, Shrink Selection command to create a border, the Select by Color to select jigsaws piece, the Scale Tool to re-size images, the Move Tool to align images, and Layer Mask that comes with GIMP.
In this GIMP tutorial, we are going to learn how to create a spherical photo collage using the Ellipse Select Tool (Tools>Selection Tools>Ellipse Select) and the Spherize filter (Filters>Distorts>Spherize) that comes with GIMP. To create the reflection, we will use a layer mask (Layer>Mask>Add Layer Mask) and the gradient tool (Tools>Paint Tools>Gradient). We can play around with GIMP's many tools to add our own artistic effects.
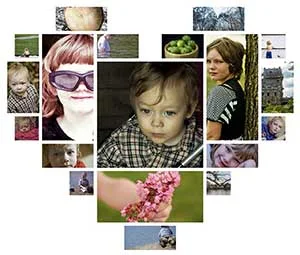
In this tutorial, we'll learn how to create a Heart Shaped Photo Collage in GIMP. I'm going to take you through the process of creating a heart-shaped photo collage using the Rectangle Select Tool, the Grid, the Move Tool, the Scale Tool and Layer Mask that comes with GIMP. Once you have arranged all shapes to form a heart-shaped collage, you can play around with other GIMP's tools to add your own artistic effects.
In this tutorial, we are going to learn how to create a triangle grid photo collage using the Grid (View> Show Grid), the Paths Tool (Tools>Paths) to create a triangle path, the Move Tool to align the triangle, the Scale tool to resize the triangle and Layer Mask to clip images into the triangle layer.
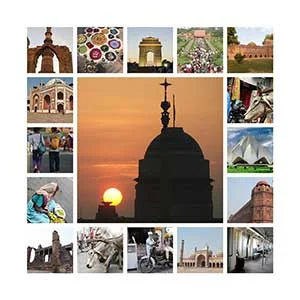
In today's tutorial, I am going to show you how to create a rectangle/squares/grid collage in GIMP. The trick is by creating a rectangle shaped selection using the Rectangle Select Tool, create a new layer for the rectangle shape, fill the selection with a gray color, insert an image into the document as a layer, then add a layer mask. Next, you can duplicate the square layer as many as you want.
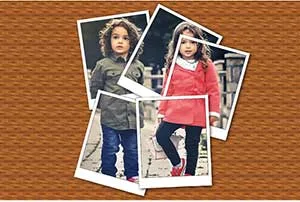
Today's tutorial will explain you as to how to create a collage of Polaroids for a given image in GIMP. We will use Tools>Transform Tools>Scale command to resize the image, Tools>Transform Tools>Move command to move the image, Tools> Selection Tools> Rectangle Select (R) to draw rectangle selection, Filters> Light and Shadow> Drop Shadow to add a drop shadow, Tools>Transform Tools>Rotate to rotate a Polaroid's frame and Layer> Add Layer Mask to insert the image.
In today's tutorial, I am going to show you how to create a 4 sided polygon collage using Rectangle Selection Tool and Layer Mask that both come with GIMP. We will use the Rectangle Selection tool to draw 4 sided polygon shapes and use Layer Mask (Layer> Add Layer Mask) to insert images into shapes. Once you have arranged all the rectangle shape to your satisfaction, you can play around with other GIMP's tools to add your own artistic effects.
By using GIMP application we can create a circle photo collage. The trick is creating a circle shaped selection using the Ellipse Select Tool, create a new layer for the circular shape, fill the selection with the color you choose, insert an image into the document as a layer, then add a layer mask. You can add a drop shadow filter if desired. Next, you can duplicate the circle layer as many as you want.
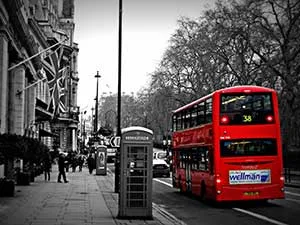
By applying selective coloring using GIMP, we can create an artistic effects and focus on specific areas on our photo. The trick is pretty simple, first we must duplicate the layer and change its color to black and white, add a layer mask and erase an area using Erase Tool.
In today's tutorial, we are going to learn how to turn a photo into a collage of Polaroids in GIMP using Rectangle Select (Tools> Selection Tools> Rectangle Select (R)), Rotate (Tools>Transform Tools>Rotate), Move Tool (Tools>Transform Tool>Move) and Drop Shadow (Filters> Light and Shadow> Drop Shadow) that comes with GIMP. Once you have arranged it to your satisfaction, you can play around with other GIMP's tools to add your own artistic effects.
Page 1 2


