The following tutorial will explain tricks to create text reflection effect in Photoshop. The trick is to create a new document, write your text on the canvas, and duplicate the text for reflection effect. Behind the text in the copy text layer and move it to the bottom of the main text. The final step is to create a mask on a copy of the text layer and apply the black to white gradient on the mask.
Step 1: Create New Document
Create a new document by choosing File> New. Fill it with black color by choosing Edit>Fill.
Step 2: Grab the Horizontal Type Tool
Click Horizontal Type Tool icon on the Tool panel.
In the options bar, choose font type, font size and font color that you want.
Step 3: Type Text On Canvas
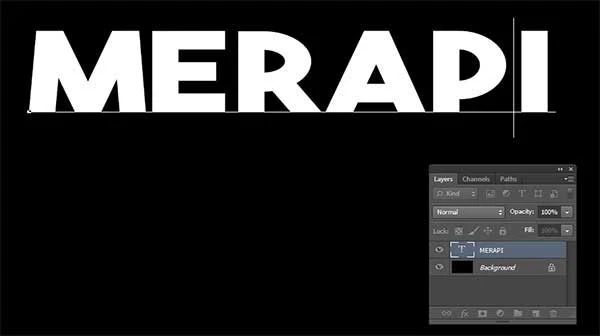
Click the mouse on the canvas and then type the text. Press Ctrl + Enter when you finish typing.
Step 4: Adjust Text Using Free Transform
Press Ctrl + T to invoke the Free Transform. Click on the Free Transform box and then drag out to enlarge the font size or drag inward to zoom out. Press Enter when you're done.
Step 5: Add Style
You can add a photo to your text by choosing File>Place and then clip it into text by choosing Layer>Create Clipping Mask. Add style by choosing Layer>New>Layer style. Merge the two-layer by choosing Layer>Merge Layer.
For this Photoshop tutorial, I'll use this image downloaded from Pixabay.
Step 6: Duplicate Text Layer Then Flip Vertical and Drag to Bottom
Duplicate the layer by pressing Ctrl + J. Now we have two identical layers. Perform Flip Vertical transform in one layer by choosing Edit> Transform> Flip Vertical. Press Ctrl + T to invoke the Free Transform then move down by pressing the down arrow key on the keyboard.
Step 7: Add Gaussian Blur
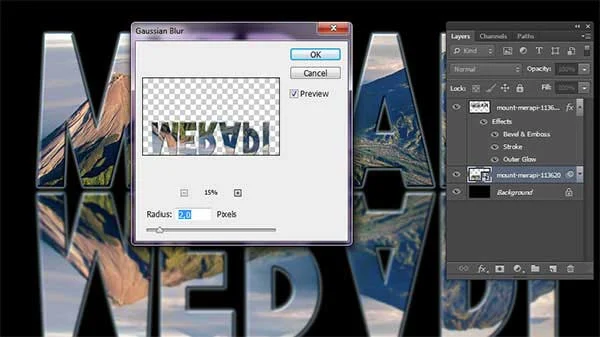
Convert layer to "smart object" by choosing Layer>Smart Objects>Convert to Smart Object, then choose Filter>Blur>Gaussian Blur.
Step 8: Apply Gradient
Click the Gradient Tool icon on the Tool panel.
Select Gradient Black To White and Linear Gradient.
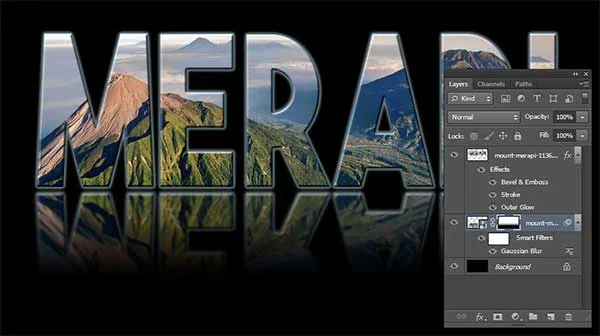
Create a mask by clicking the Add Layer Mask icon. Apply gradient on the mask by clicking and drag (while holding down the Shift key) in the text vertically.
Step 9: Adjust the Reflection Opacity
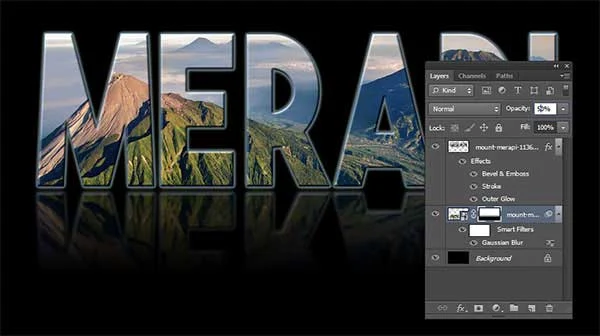
Click the reflection layer and set the opacity in order to get reflection effect.
There you have it! Create text reflection in Photoshop.


No comments:
Post a Comment