Today, I am going to take you through the process of creating a Storyboard collage in Photoshop and you can download the photoshop collage template for you to use. We will use Guides to help us position shapes precisely, the Rectangle tool to draw rectangle shapes, the Ellipse tool to draw a circle shape and Clipping Mask.
Download This Template
Download Storyboard Photoshop Collage template here or find others free Photoshop Collage Templates here.
Step 1: Create a new Document
Choose File> New (or Ctrl+N). In the pop-up window, type a name in the Name field and enter the following information: Width 2400 pixels, Height 2400 pixels, Resolution 300 Pixels/Inch, Color Mode RGB color, and Background contents White. Click OK.
Step 2: Create Guides
Guides help you position any object (shapes or images) precisely. We will create three horizontal and two vertical guidelines.- Create the first vertical guide. Choose View> New Guide. In the dialog box, select Vertical orientation, enter 800 px position and click OK.
- Create a second vertical guide. Choose View> New Guide. In the dialog box, select Vertical orientation, enter 1600 px position and click OK.
- Now create a horizontal guide. Choose View>New Guide. In the dialog box, select Horizontal orientation, enter 25% position and click OK. Repeat this step for position 50% and 75%.
- If you didn't see the guidelines, then choose View> Show> Guides. If you want to lock all guides, choose View>Lock Guides. This way you can't move them by accident.
Create two vertical guides (800px and 1600px).
Step 3: Select the Rectangle Tool
Select the Rectangle Tool from the Tools panel, or else just press U. Press Shift+U to cycle through the six available shape tools until the one you want is active.
In the Options Bar, make sure Shape is chosen from the menu then choose shape color. To choose the color of the shape, click the color swatch in the options bar, and then choose a color available.
You can also choose a color from the Color Picker.
Lastly, fill the stroke size.
Step 4: Draw a Rectangle Shapes
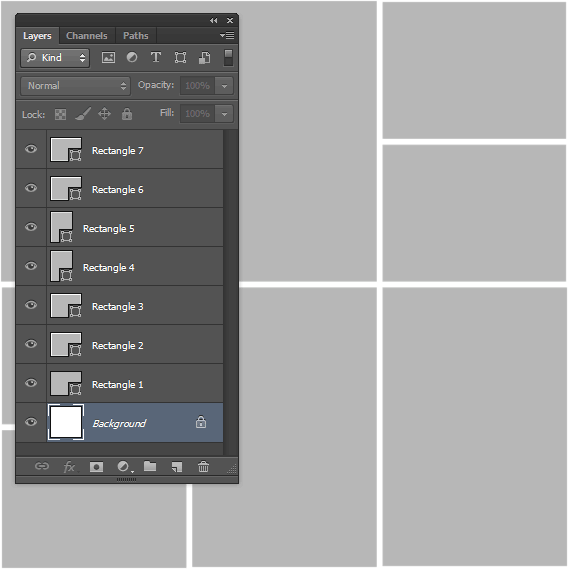
To draw a rectangle shape, click inside your document and drag away from the starting point. When you release your mouse button, Photoshop completes the rectangle shape and fills it with your chosen color. Now draw another rectangle shape or just duplicate the rectangle shape we previously created by going to Layer> Duplicate Layer, or else by pressing Ctrl+J. Then resize and reposition your new/ duplicate rectangle shape layer using Edit> Free Transform Path.
Now, you can edit the rectangle shape as follows:
- Resize the rectangle shape by dragging any corner while holding down the Shift key to keep the shape does not distort.
- Move the rectangle shape by clicking and hold anywhere inside the shape and drag.
- Rotate the rectangle shape by moving your cursor farther out from any corner until you see two arrows. Click and hold, then drag the shape.
- Press Enter key when you are done.
Draw/duplicate a rectangle shape layer as many as you want and then arranged it all to your satisfaction. After you finish creating all shapes, you can hide guides by choosing View> Show> Guides.
Step 5: Draw a Circle Shape
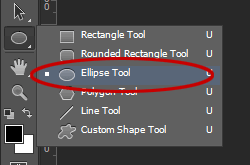
Select the Ellipse Tool from the Tools panel, or else just press U. Press Shift+U to cycle through the six available shape tools until the one you want is active. In the Options Bar, make sure Shape is chosen from the menu then choose shape color. To choose the color of the shape, click the color swatch in the options bar, and then choose a color available. You can also choose a color from the Color Picker.
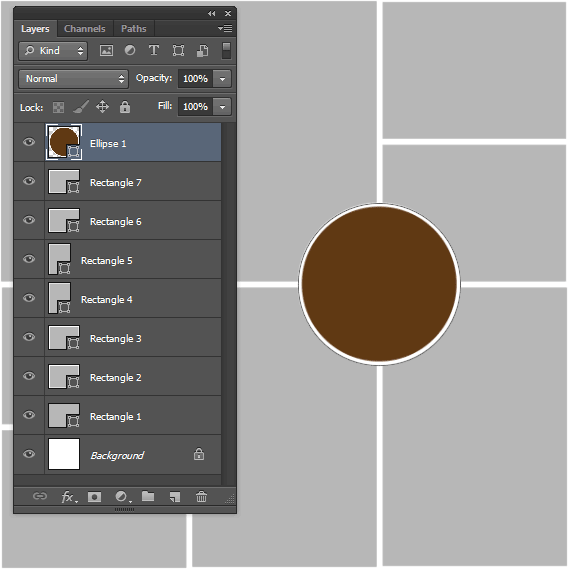
To draw a circle shape, click inside your document and drag away from the starting point. When you release your mouse button, Photoshop completes the circle shape and fills it with your chosen color.
You can edit the circle shape as follows:
- Resize the circle shape by dragging any corner while holding down the Shift key to keep the shape does not distort.
- Move the circle shape by clicking and hold anywhere inside the shape and drag.
- Rotate the circle shape by moving your cursor farther out from any corner until you see two arrows. Click and hold, then drag the shape.
- Press Enter key when you are done.
Step 6: Insert Image
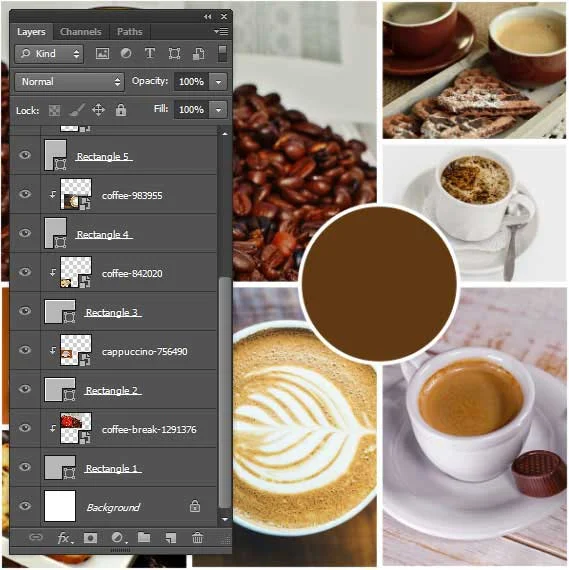
Stock images used in this Photoshop Collage tutorial: cup-of-coffee-455423, coffee-1177526, coffee-1159011, coffee-983955, coffee-842020, cappuccino-756490, and coffee-break-1291376.
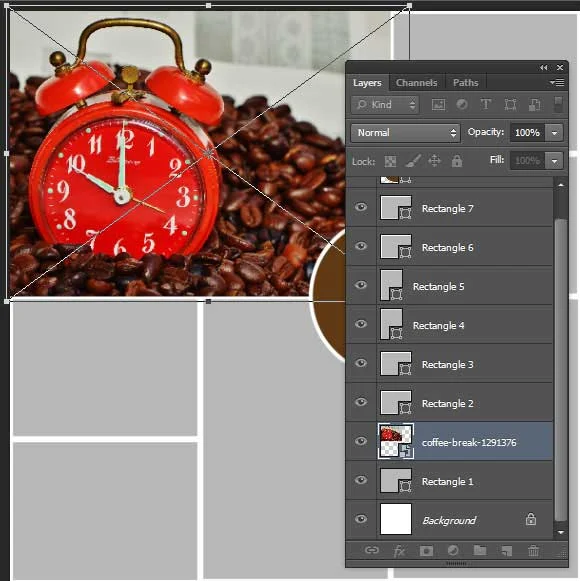
Select the Rectangle layer to which you want to insert a picture. Go to File> Place to open the picture you'd like to insert. Navigate to the folder that contains your image file then select the name of the file you want to open. If your file does not appear, try to view all files by selecting All Formats from the Files of type list. Click Place.
You can now edit the picture as follows:
- Resize the picture by dragging any corner while holding down the Shift key to keep the picture does not distort.
- Move the picture by clicking and hold anywhere inside the image and drag.
- Rotate the picture by moving your cursor farther out from any corner until you see two arrows. Click and hold, then drag the picture.
- Press Enter key when you are done.
Step 7: Create a Clipping Mask
When layers are put into a clipping mask, the content of the bottommost layer (the Rectangle layer), clips the layers above it (the image layer). On the Layers panel, make sure the layers to be clipped are listed consecutively. Remember, you must stack the image layer above the Rectangle layer. Click the image layer to be clipped, then choose Layer>Create Clipping Mask (or Alt+Ctrl+G).
Now the content of the Rectangle layer, clips the image layer.
Step 8: Insert Other Images
Repeat steps 6 through 7 to open and manipulate each picture you'd like to insert.
Step 9: Add Text
Select the Horizontal Type tool from the Tools panel, or press T to select the type tool. Press Shift+T to cycle through the four available type tools until the one you want is active.
Your cursor will look like an I-beam, similar to the one you see in a word processing program. Select type Options, such as font, style, size, and color, in the tool Options bar. Click on the part of your image where you want to add text in Photoshop. Enter your text. To start a new paragraph, press Enter. When finished, click the Commit button on the Options bar or you can just press Ctrl+Enter. Photoshop creates a new type layer. Stack your type layer above the circle shape layer and then choose Layer>Create Clipping Mask.
Step 10: Add Canvas Size
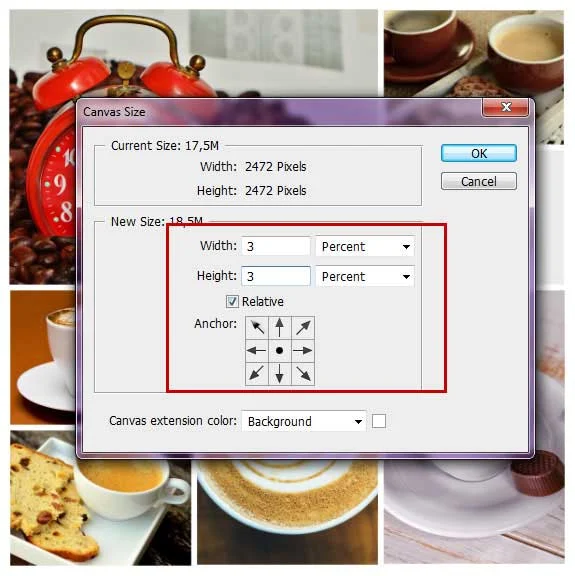
To add a border in the photo collage, we can enlarge the size of the background layer by about 3%. Select the Background layer on the Layers panel and then choose Image> Canvas Size. In the pop-up window, enter the following information: Width 3 percent, Height 3 percent, click the Relative checkbox and choose center Anchor. Click OK.
Step 11: Save Your Document
Choose File>Save or else just press Ctrl+S to save your project file. The Save As dialog box appears. Navigate to the folder where you want to store your project file. Type a name in the File Name text box and leave the default Photoshop (*.PSD;*.PDD) format. Click Save to store the project file.
Once you have finished, you will probably also want to use File>Save As (Shift+Ctrl+S) to export the image in a more widely used format, such as JPEG, PNG, TIFF, etc.
There you have it! Storyboard Photoshop Collage.






No comments:
Post a Comment