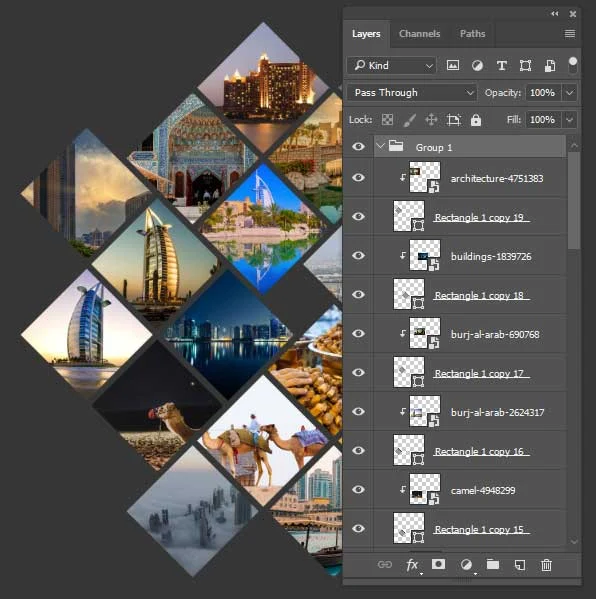
In today’s tutorial, we will be creating a stunning Multiple Frames Photoshop Collage Template (PSD) with 20 squares. Using the Rectangle Tool, File-Place Embedded, and Clipping Mask, we will seamlessly insert and clip images into the rectangles. Get ready to elevate your photo collage game with this step-by-step guide!
Watch the video for detailed instructions and use the written steps for quick reference.
If you liked my tutorials, please subscribe to my YouTube channel - JTSGraph.
Download Multiple Frames Photo Collage Template (PSD)
Steps to make a multiple frames collage in Photoshop:
1. Create new document.
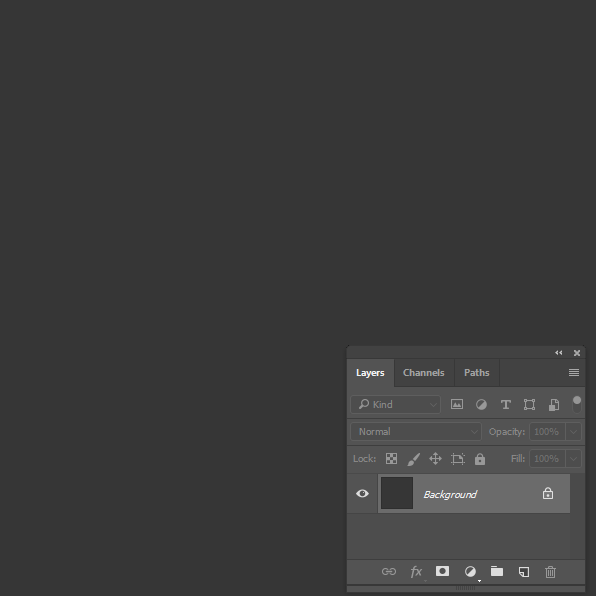
Choose File>New. I’ll create a document with 3000 px width, 3000 px height, 300 px resolution and background color #363636.
2. Show the Grid.
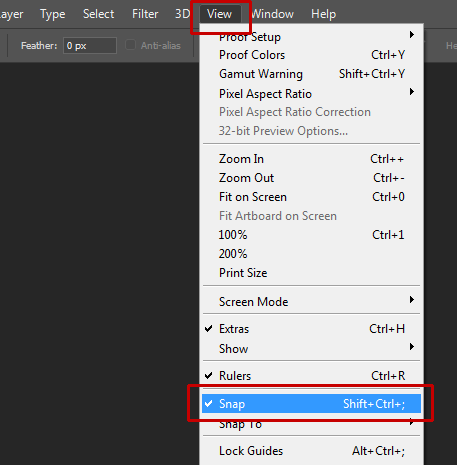
Choose View>Show>Grid.
Choose View>Snap.
And then View>Snap To>Grid, to enabling snaping that will help you to align any object (including shape) you want.
3. Adjust the Grid.
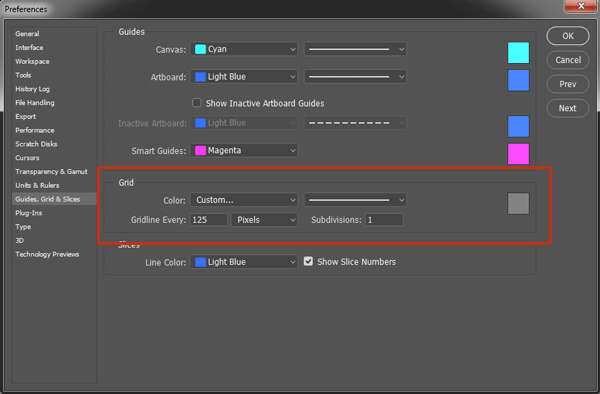
Open up the grid preferences, choose Edit> Preferences> Guides, Grid & Slices. Choose the color you want for the grid lines. I will set the “Gridline every” option to be 125 pixels and “Subdivisions” option to be 1.
The Grid.
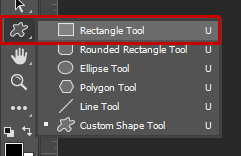
4. Grab the Rectangle tool.
Grab the Rectangle Tool from the Tools panel on the left.
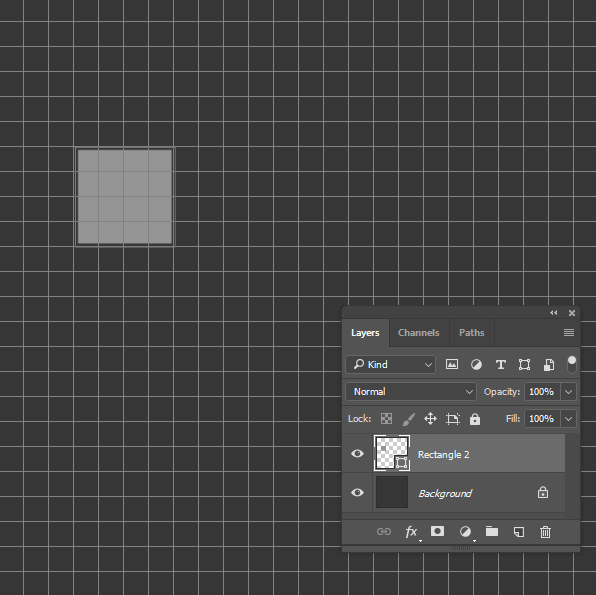
Choose fill color and 16px Stroke size.
5. Draw a rectangle shape.
Click-drag on document to draw a rectangle shape.
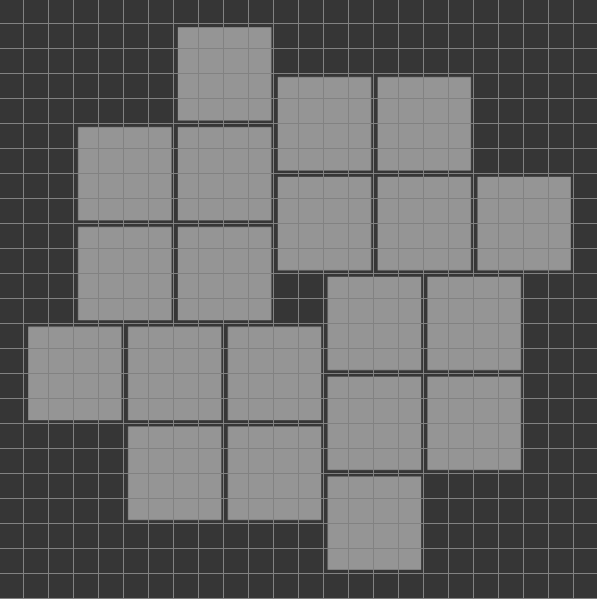
6. Duplicate shape.
Ctrl+J to duplicate shape then Move it using the Move Tool.
7. Group layers.
Click all the shape layers while holding down the Shift-key then go to Layer>Group Layers.
8. Rotate the group layers.
Select the Group layer then go to Edit>Free Transform (or Ctrl+T).
Type 45 degrees in the Options Bar.
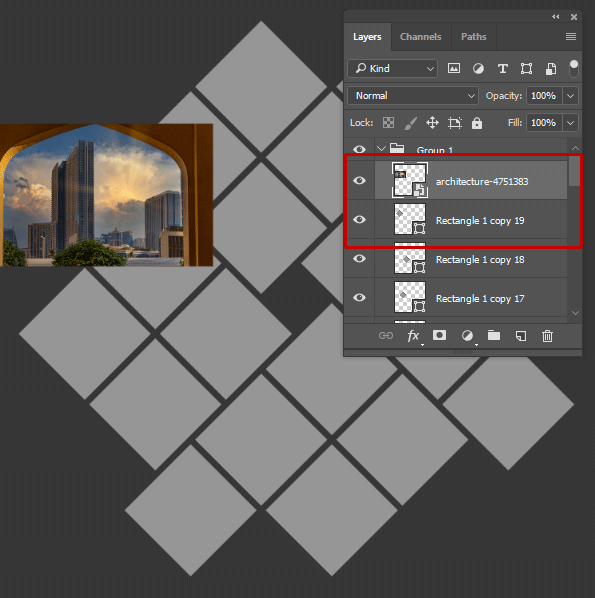
9. Insert image.
Select the shape layer you want to insert an image.
Insert your image using File>Place Embedded. Resize/move the image then press Enter.
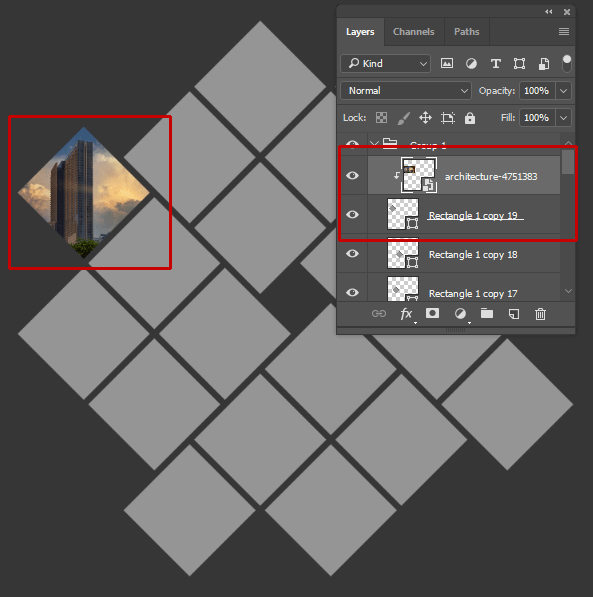
10. Create clipping mask.
Create Clipping Mask (Layer>Create Clipping Mask).
11. Insert all images.
Repeat the previous steps to insert all the images.
12. Save document.
Save the document (File>Save) as a template for later use, just change the images.
There you have it! How To Make a Multiple Frames Photoshop Collage template.









Great post on creating multiple frames in Photoshop! I always struggled with getting the spacing just right, but your tips make it look so straightforward. For those using an Android app, you can also make an amazing collages easily. This technique is perfect for showcasing travel photos or special events. Can’t wait to give it a shot—thanks for the inspiration!
ReplyDeleteterimakasih banyak om..
ReplyDeleteSama-sama
DeleteSuch a helpful tutorial! Creating a multi-frame collage in Photoshop looks super easy with these clear steps and tips.
ReplyDelete