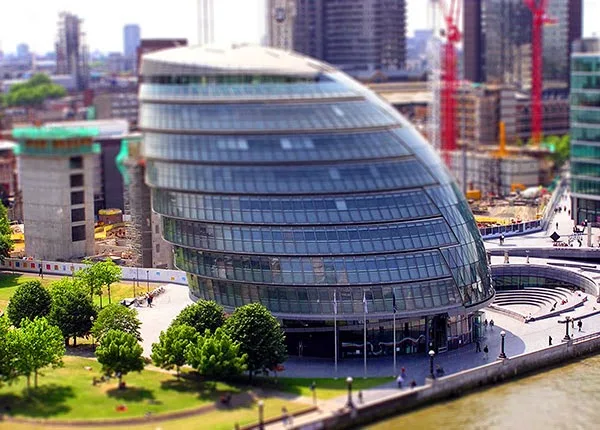
Learn how to create a Tilt-Shift Effect in Photoshop. By utilizing a blur filter tilt-shift owned Photoshop, we can create a miniature effect or so-called tilt-shift effect. It's easy, namely by providing a tilt-shift blur filter, then add the hue-saturation adjustment in order to obtain a good effect of a miniature photo. Photo that are suitable for this effect is an urban or a landscape garden photo.
Steps to make a tilt-shift effect in Photoshop:
1. Open photo
Select File> Open, select your photo and then click Open. For this Photoshop tutorial, I'll use this image, london-71205, that I downloaded from Pixabay.
2. Duplicate layer
In order not to ruin the original photo, duplicate layer by pressing Ctrl + J or choosing menu Layer>Duplicate Layer.
3. Apply Filter Tilt-Shift
To apply tilt-shift filter, select Filter> Blur> Tilt-Shift.
4. Set the Focus Lens
Click on the circle of the lens focus, and then drag in the direction you want. In the photo example, I will drag down to provide focus lens.
5. Set the level of Blur
Adjust the amount of blur you want. I will fill up by 24 pixels. Press the OK button or press Enter to apply it.
6. Change the Hue / Saturation
To make it look more like a city miniature, I will set the Hue / Saturation. Click the icon Adjustment Hue / Saturation or can by choosing Layer> New Adjustment Layer> Hue / Saturation. Drag the Saturation slider slightly to the right.
There you have it! Tutorial Tilt-Shift Effect in Photoshop.


No comments:
Post a Comment