Steps to adding rain to a photo in GIMP:
1. Open image
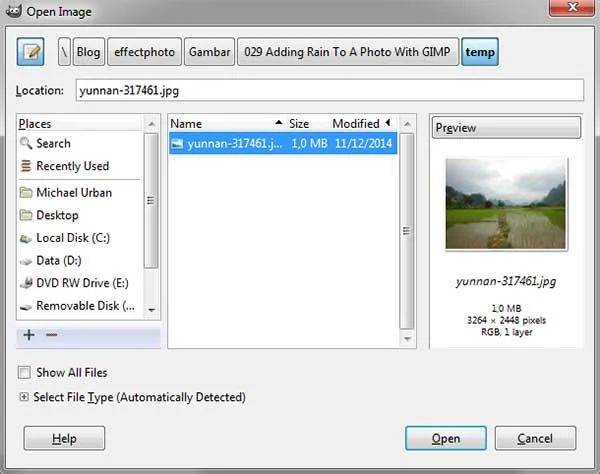
Use File>Open... command in the top menu or else just press Ctrl+O to open your image. The “Open Image” dialog will appear, allowing you to navigate to the file and click on its name. Navigate through your folders in the Places panel and the Name panel until your images' name appears in the Name panel. Click the image you want to open. When an image file is selected, we can view the preview of the image file at the right-hand side of the box, although it's not easy to find an image based on a thumbnail. Click Open.
2. Create a new layer
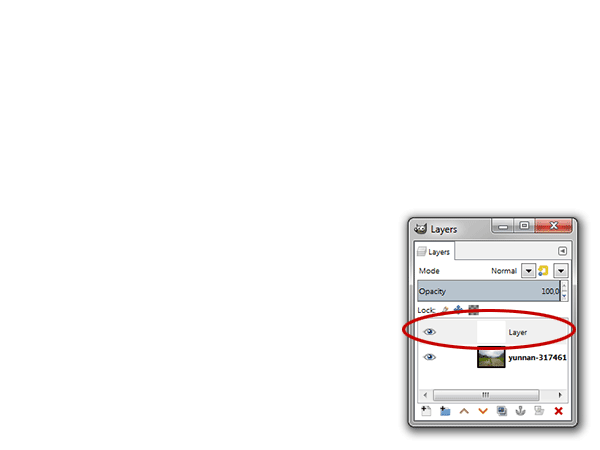
Use Layer> New Layer or press Shift+Ctrl+N to create a new layer. The New Layer window open. Type a name in the Layer Name text box (you can name it 'Rain Effect') and choose White in the Fill with drop-down menu. Click OK.
3. Apply RGB Noise filter
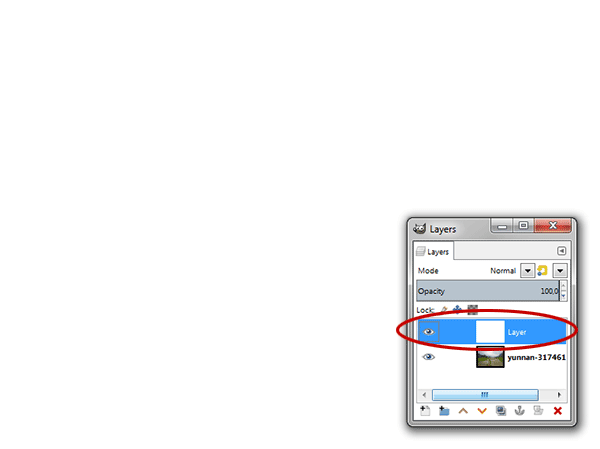
Select the Rain Effect layer on the Layers dialog. Use Filters>Noise>RGB Noise to apply the RGB Noise filter.
The RGB Noise dialog box appears. Here you can set the value of Red, Green, Blue, and Alpha to a value of 1. Uncheck Correlated Noise and Independent RGB. Click OK.
4. Apply Motion Blur filter
Make sure the Rain Effect layer is selected on the Layers dialog. Now we'll apply the Motion Blur filter by going to Filters> Blur> Motion Blur... The Motion Blur dialog box appears. Here you can set Linear for the Blur Type. Under the Blur Parameter, I'll set 37 for Length and 106 for Angle. Click OK.
5. Adjust Rain effect using Levels
The last step is to adjust the amount of rain by using Levels. Use Color>Levels. The Levels dialog box appears. Here you can set the Input Levels slider to get your desired rain effect. Click OK when you're done.
6. Change the Blend Mode to Screen or Overlay
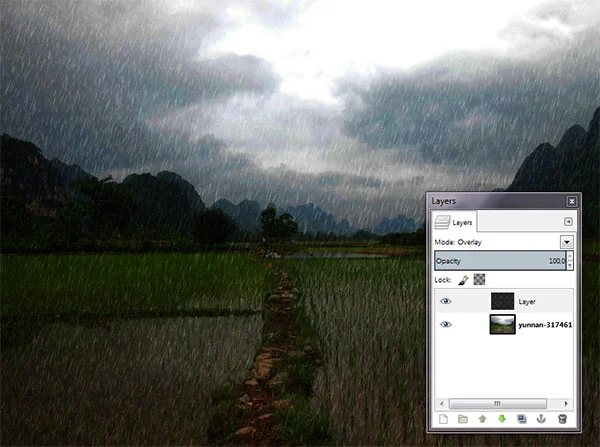
The last step is to change the blend mode to Screen or Overlay, depending on the effect you want. The overlay mode will give a slightly darker effect than the Screen mode.
7. Save your work
Use File>Save command in the top menu or else just press Ctrl+S to save your project file. The Save Image dialog box appears. Navigate to the folder where you want to store your project file. Type a name in the Name text box and leave the default GIMP (*.XCF) format. XCF is GIMP's native format and is useful because it stores everything about your image and will allow you to later edit your image in GIMP, in case you notice a problem. Click Save to store the project file.Once you have finished, you will probably also want to export the image in a more widely used format, such as JPEG, PNG, TIFF, etc.
There you have it! Adding Rain To A Photo With GIMP.
More on GIMP Tutorials:






You can change the blend mode in Layers tab. Just click on the arrow "Mode" (step 6)
ReplyDeleteWhen I add the RGB Noise filter to my new white layer, it doesn't change anything, just stays solid white.
ReplyDeleteMake sure you select the white layer on the Layers dialog.
Deleteyeaaaaaa.... mine came out NOTHING like that. lol
ReplyDeleteTried this on gimp 2.10.38, and it worked well :D
ReplyDelete