

Learn how to change hair color in Paint.NET using the Paintbrush tool and Gaussian blur filter. The Hair color is made on a separate layer with Overlay blending mode in order to blend with the photo on the background. Hair color changed by selecting a color on the color palette then we brush the hair using Paintbrush. Lastly, give gaussian blur and clean unwanted area using Eraser Tool.
If you liked my tutorials, please subscribe to my YouTube channel - JTSGraph
Steps to change hair color in Paint.NET:
1. Open image
Select File> Open to open your photo then choose Layers> Add New Layer. Change the blending mode to Overlay by choosing Layers> Layer Properties. For this Paint.NET tutorial, I'll use this image that I downloaded from Pixabay.

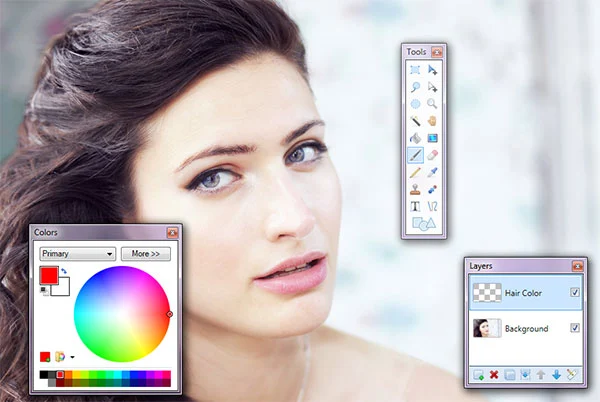
Step 2: Select a color, click Paintbrush tool and adjust its size
Click the color that you want to color the hair on the Colors palette, click the Paintbrush Tool in the Tool palette and set the brush size in the options bar.
3. Strokes Paintbrush tool to hair
Click and drag the mouse on the hair area until all the hair is red. To make works easier, you can zoom in the image by pressing Ctrl ++ or zoom out by pressing the keyboard keys Ctrl + -.

4. Apply Gaussian blur
Choose Effects> blurs> Gaussian Blur. Simply slide the Radius slider to obtain natural hair color. Click OK button. You can adjust the opacity.

5. Clean using the Eraser tool
Click the Eraser Tool icon in the Tool palette and then brush on the parts that you to remove. You can turn off Background visibility to see more clearly the effect of Gaussian blur on hair color.

Here is the original photo:

There you have it! How to change hair color in Paint.NET.

I didn't know this even existed. Many thanks.
ReplyDeleteGlad you liked :)
Delete