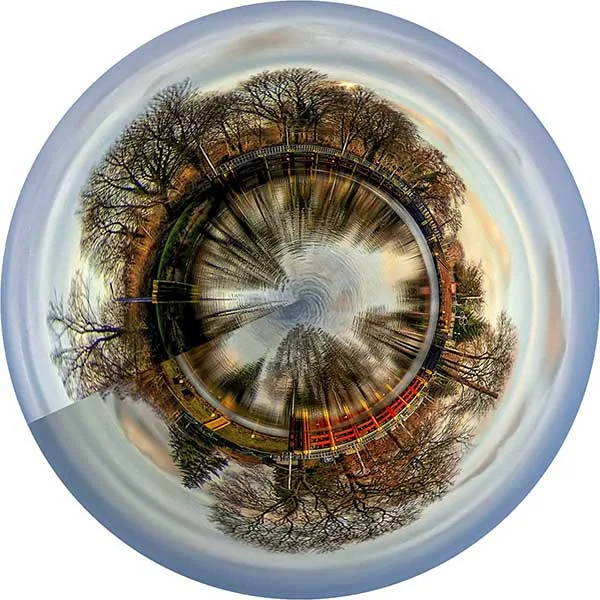
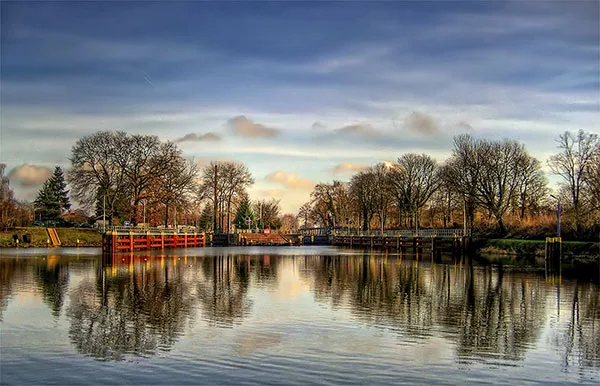
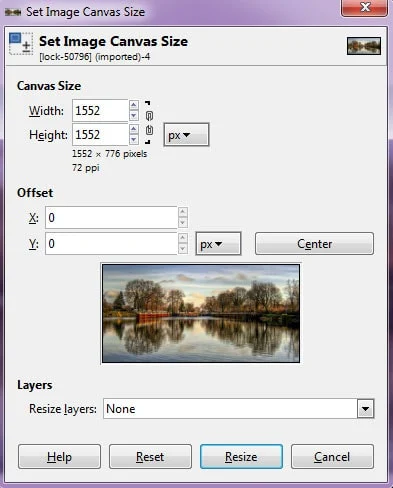
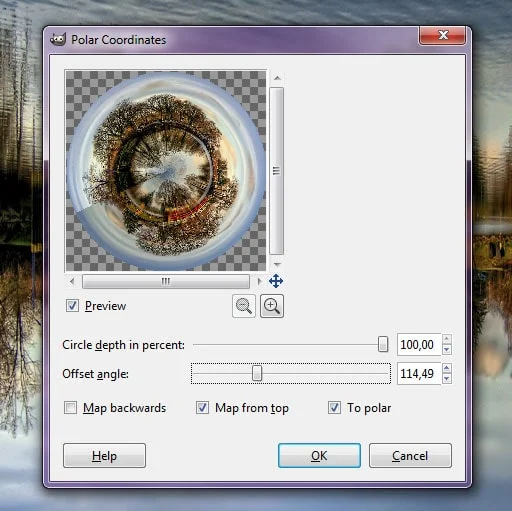
Learn how to create a polar panorama effect in GIMP using Filters> Distorts> Polar Coordinates command. Before applying the polar coordinate filter, the image height and image width must be the same. You can change it using Image>Canvas Size command. Next, use the Scale Tool to adjust image height in canvas. We recommend that you choose panorama photo in order to get good result.
Steps to make a polar panorama effect in GIMP:
1. Open image
Select File> Open, click your photo and then click the Open button. For this GIMP tutorial, I'll use this image that I downloaded from Pixabay.
2. Adjust canvas height and width
Choose Image> Canvas Size. Then click the up arrow on the height column until height value equal to the value of width.
3. Adjust image's height
Choose Tools> Transform Tool> Scale. Click the up arrow until the value of column height is equal to the value of the column width.
4. Rotate image by 180 degrees
Choose Image>Transform>Rotate 180.
5. Apply the Polar Coordinates filter
Choose Filters> Distorts> Polar Coordinates. Tick the checkbox To Polar and let the others. Please try different settings to see different results. Click the OK button when you are satisfied with the results.
There you have it! Tutorial How To Create Polar Panorama Effect In GIMP.


No comments:
Post a Comment