In today's tutorial, we are going to learn how to make a Blueprint Effect In Photoshop from a given image. We’ll convert an image to a blueprint by outlining the subject using the Pen tool, desaturate it, applying Find Edges filter, invert, add stroke and add grid pattern. Let's get started!
If you liked my tutorials, please subscribe to my YouTube channel - JTSGraph.
Steps to make a blueprint effect in Photoshop:
1. Open image.
Choose File>Open (Ctrl+O). Navigate to the folder that contains your photo then select the name of the file you want to open. For this Photoshop tutorial, I'll use this image, P90281720, downloaded from BMWGroup.
2. Grab the Pen tool.
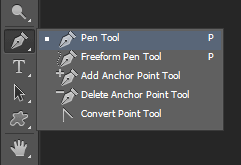
To turn a photo into blueprint, we need to isolated the main subject first using selection tool. Grab the Pen tool by selecting it from the toolbar on the left.
Make sure Path and Combine Shapes is chosen from the menu in the options bar.
3. Outline the subject.
Use The Pen Tool To Trace Around The Subject. Start by clicking once to place an initial anchor point. Continue clicking to set anchor points to create a path. Close the path by positioning the Pen tool over the first anchor point. Click or drag to close the path.
Now simply press Ctrl+Enter to turn the path into a selection.
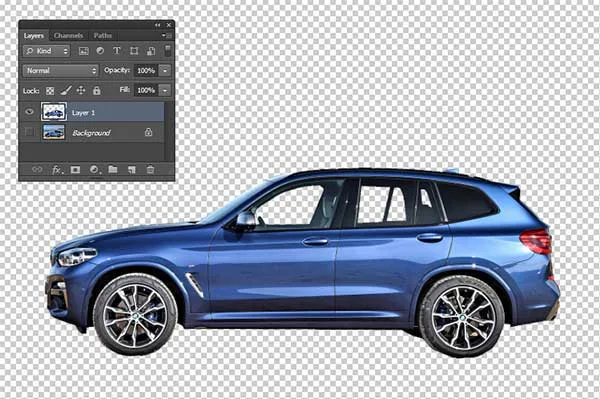
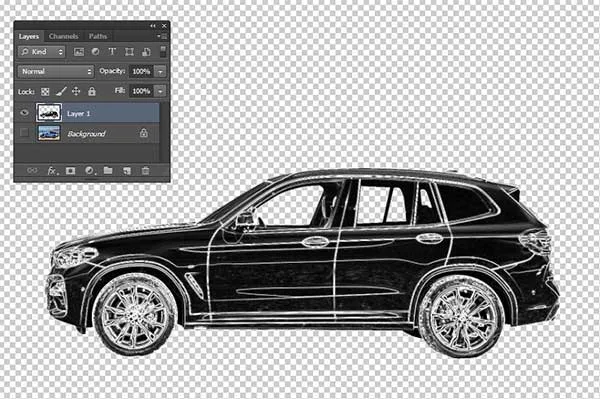
Then copy the selection onto its own layer by going to Layer>New>Layer via copy (or press Ctrl+J). A layer with the default name of Layer 1 appears above the Background layer.
You can hide the Background layer by clicking on the eye icon on the left.
4. Desaturate.
Make sure the drawing layer is selected. Choose Image>Adjustments>Desaturate to desaturate the drawing layer.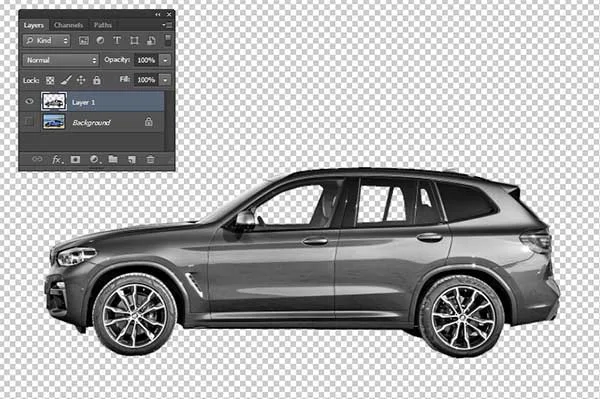
5. Apply Find Edges filter.
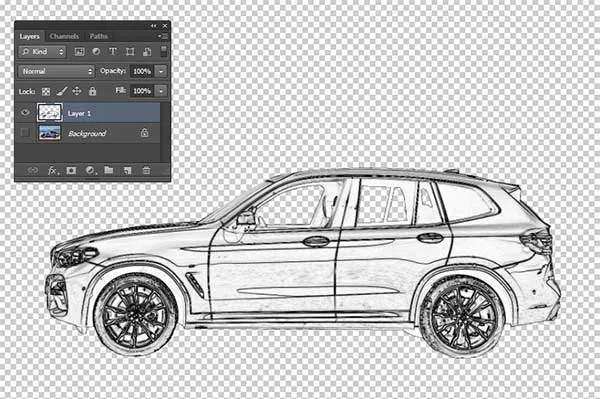
Transforms the drawing layer into a line drawing using the Find Edges filter. Apply the Find Edges filter by going to Filter>Stylize>Find Edges.6. Invert it.
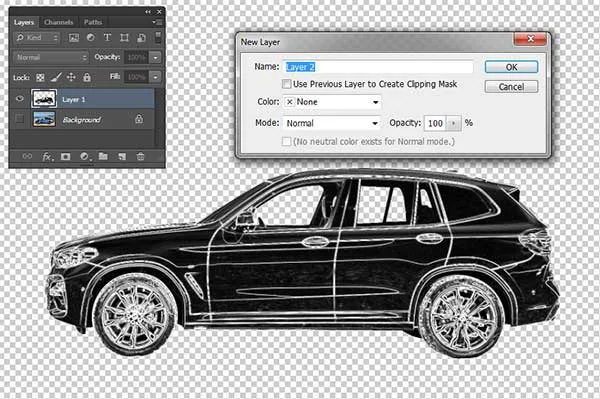
Invert the drawing layer by going to Image>Adjustments>Invert.7. Create new layer.
Choose Layer>New>Layer to create a new layer. The New Layer dialog box appears allowing you to name your layer and specify other options. Leave the default settings and click OK. In the Layers panel, a layer with the default name of Layer 2 appears. Move the new layer just below the drawing layer.
8. Fill the New layer with Blue.
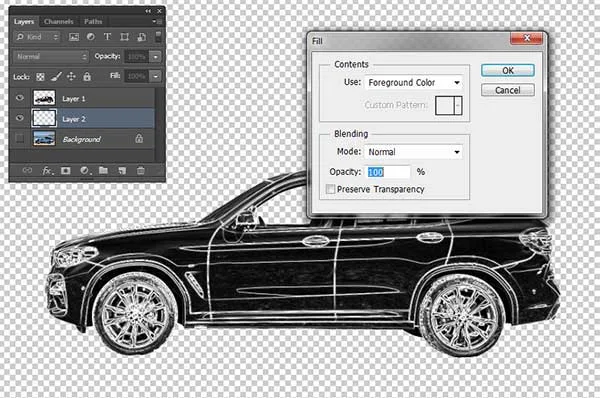
Select Layer 2 in the Layers panel. Choose a foreground or background color by clicking on the foreground/background box.
The Color Picker dialog box appears allowing you to choose a color. Choose a Blue you like then click OK.
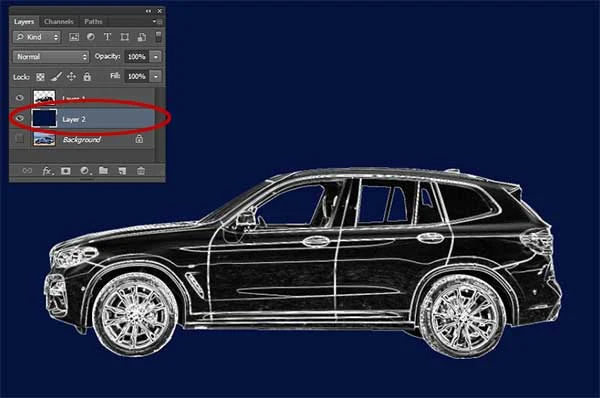
Choose Edit>Fill (or press Shift+F5). The Fill dialog box appears. In this dialog box, under Contents, you can select whether to fill with the foreground or the background color. Click OK.
Now, the color that you choose fills the layer.
9. Change Blend Mode to Screen.
Select the drawing layer in the Layers panel and change its blend mode to Screen.10. Add Stroke.
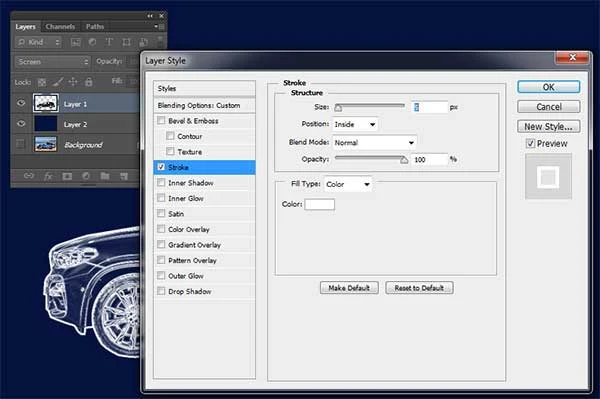
You can add a Stroke layer style to add a strong line around your subject. Choose Layer>Layer Style>Stroke. The Layer Style dialog box appears. Choose the White color, stroke size, Position Inside. Click OK.11. Create Grid pattern.
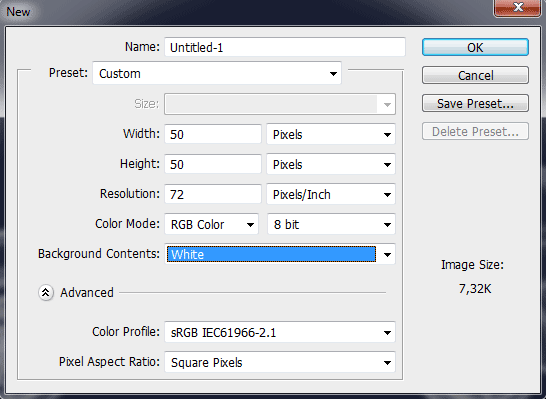
Create a new document for the grid pattern at around 50 x 50 pixels in size, resolution 72 pixels and white Background contents. Choose Layer>New>Layer from Background to unlock the Background layer.12. Create white border.
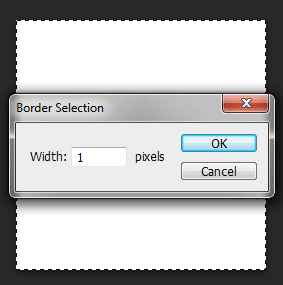
Create a white border by 1 pixel. Choose Select>All. Then choose Select>Modify>Border. The Border Selection dialog box appears. Enter 1 pixels for width then click OK.
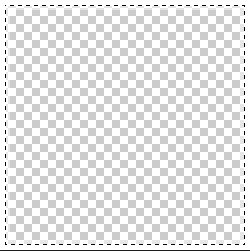
Invert the selection by choosing Select>Inverse. Press the Delete key to delete everything inside the selection. Choose Select>Deselect to remove the selection.
13. Define pattern.
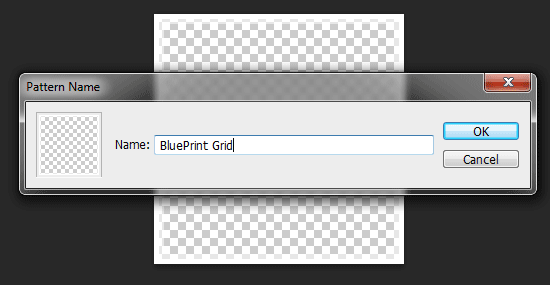
Next step, go to Edit>Define Pattern. The Pattern Name dialog box appears. Name it like 'Blueprint Grid'. Click the OK button. Now you can save and close your Pattern.PSD document.14. Create a new layer for the Grid.
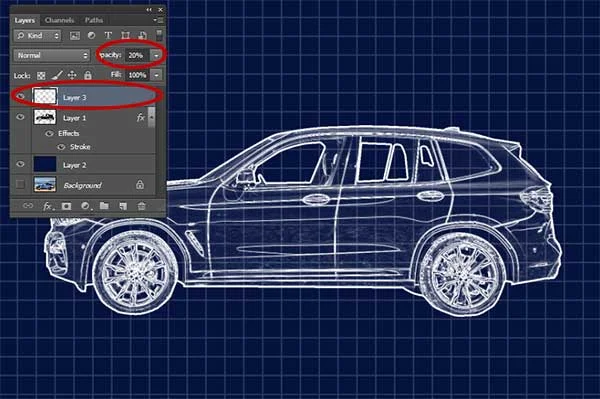
Create a new layer for the grid pattern by choosing Layer>New>Layer or else just press Shift+Ctrl+N. The New Layer dialog box appears allowing you to name your layer and specify other options. Leave the default settings and click OK. A layer with the default name of Layer 3 appears on the Layers panel. In the Layers panel, drag the new layer to the topmost position.15. Fill the new layer with pattern.
Choose Edit> Fill. The Fill dialog box appears. Select Pattern in Use drop-down menu. In the Custom Pattern, choose the grid pattern we previously created. Click the OK button. Adjust its opacity if necessary, in the Layers panel.
16. Save document.
Choose File>Save or else just press Ctrl+S to save your project file. The Save As dialog box appears. Navigate to the folder where you want to store your project file. Type a name in the File Name text box and leave the default Photoshop (*.PSD;*.PDD) format. PSD is Photoshop's native format and is useful because it stores everything about your image and will allow you to later edit your image in Photoshop, in case you notice a problem. Click Save to store the project file.
Once you have finished, you will probably also want to export the image in a more widely used format, such as JPEG, PNG, TIFF, etc.










No comments:
Post a Comment