In today's tutorial, I am going to show you how to create a rectangle/squares/grid collage in GIMP. The trick is by creating a rectangle shaped selection using the Rectangle Select Tool, create a new layer for the rectangle shape, fill the selection with a gray color, insert an image into the document as a layer, then add a layer mask. Next, you can duplicate the square layer as many as you want.
1. Create a New Image
Use File>New or else just press Ctrl+N.
The Create a New Image dialog box appears.
In the pop-up window, you can set the Width and Height of the new image.
Enter a value for the initial width with 3000 px and height with 3000 px manually or through the up and down arrows.
Click Advanced Options, select Transparency for “Fill with”. Click OK.
You can download the GIMP for free here.
2. Show Grid
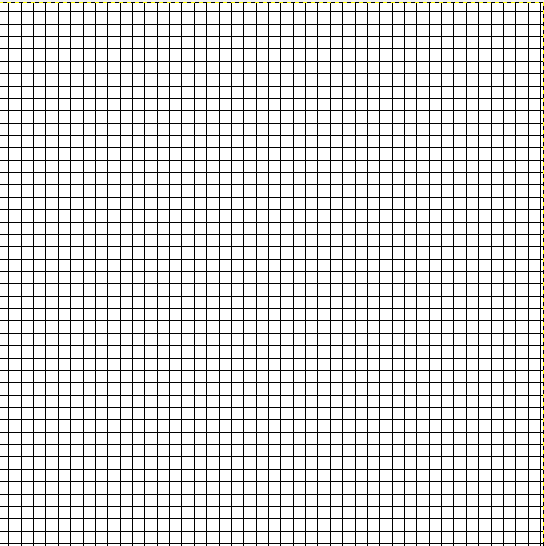
GIMP gives us The Grid, a flexible type of positioning aid.
The Grid is horizontal and vertical lines we can temporarily display on an image while we are working on it.
The Grid helps us to line up the rectangle shape.
Enable displaying Grid by going to View>Show Grid.
Now configure the Grid by going to Image>Configure Grid...
The Configure Grid dialog box appears.
In the Configure Grid dialog box, choose the color of the grid lines, the spacing, and offsets.
Snapping is a useful feature in GIMP that allows us to align images with the Grid.
Choose View>Snap to Grid to enable snapping that will help you to align any images or shapes you want.
3. Create a Rectangle Selection
Select the Rectangle Selection Tool from the toolbox or use Tools> Selection Tools> Rectangle Select (R).
Click and drag your mouse to choose a portion of the document.
Just leave the mouse when you are done.
You should see a dotted line or marching ants outline the selection.
Now, the selected portion of the document has been picked or selected.
The Rectangle Select Tool.
Click and drag your mouse to choose a portion of the document.
Just leave the mouse when you are done.
You should see a dotted line or marching ants outline the selection.
Now, the selected portion of the document has been picked or selected.
4. Create a New Layer
Use Layer> New Layer or press Shift+Ctrl+N to create a new layer.
The New Layer window open.
Type a name in the Layer Name text box and choose Transparency in the Fill with drop-down menu.
Click OK.
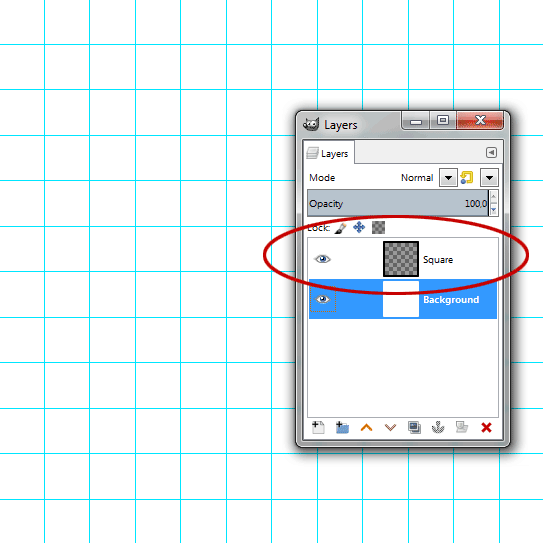
A new, empty layer, added to the layer stack of the image, just above the active layer.
The New Layer window open.
Type a name in the Layer Name text box and choose Transparency in the Fill with drop-down menu.
Click OK.
A new, empty layer, added to the layer stack of the image, just above the active layer.
5. Fill Selection With White Color
Make sure the background color is white by pressing keyboard key D, then go to Edit> Fill with BG color (or by using the keyboard shortcut Ctrl+.).
Now the white color fills the active layer selection.
Now the white color fills the active layer selection.
6. Shrink Selection
Use Select> Shrink.
The Shrink Selection dialog box appears.
In the pop-up window, set your shrink value manually or through the up and down arrows.
Click OK to apply.
The Shrink command reduces the size of the selected area.
The Shrink Selection dialog box appears.
In the pop-up window, set your shrink value manually or through the up and down arrows.
Click OK to apply.
The Shrink command reduces the size of the selected area.
7. Fill Selection With Gray Color
Click the background color box. The Change Background Color dialog box appears.
Choose a gray color and click OK.
Go to Edit> Fill with BG color (or by using the keyboard shortcut Ctrl+.).
Now a gray color fills the active layer selection.
You can remove the selection by going to Select> None.
Choose a gray color and click OK.
Go to Edit> Fill with BG color (or by using the keyboard shortcut Ctrl+.).
Now a gray color fills the active layer selection.
You can remove the selection by going to Select> None.
8. Duplicate The rectangle Layer
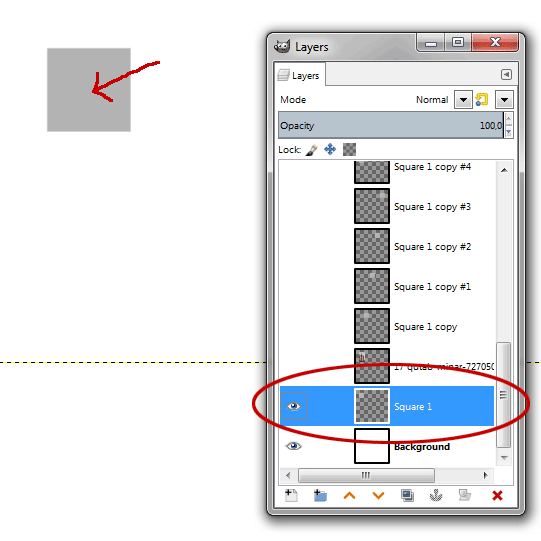
Select the Square layer on the Layers Dialog.
Use Layer> Duplicate Layer (or by using the keyboard shortcut Shift+Ctrl+D).
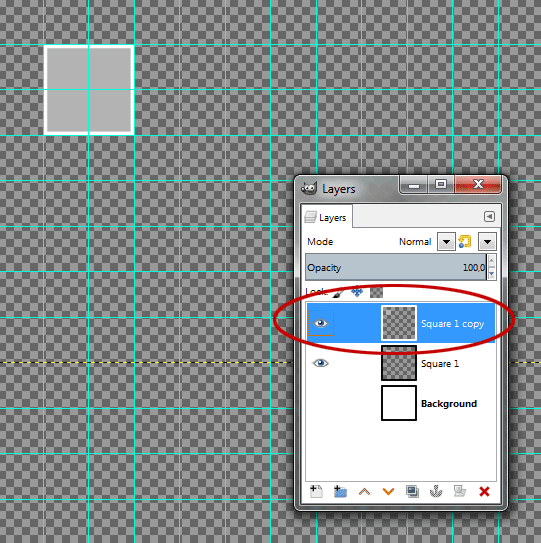
A new layer which is a nearly identical copy of the active layer added to the image.
Now select the duplicate layer on the Layers Dialog.
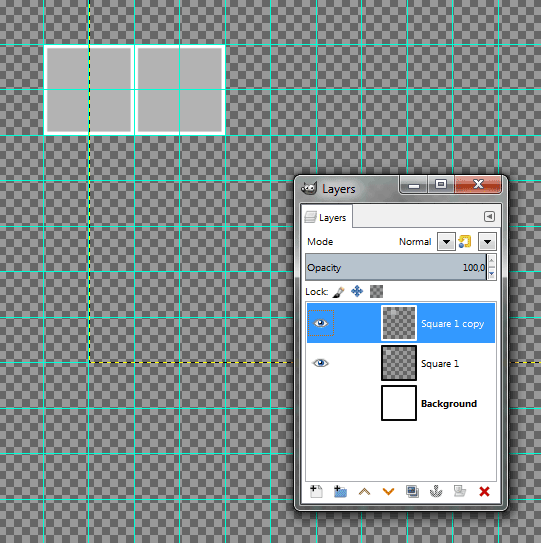
Click the Move Tool icon or else use Tools>Transform Tool>Move and then Click and hold anywhere inside the duplicate square layer and drag to the position you want.
You can use the Grid as a guide.
Select the Square layer on the Layers Dialog.
Use Layer> Duplicate Layer. Make sure the duplicate layer is selected.
The Move Tool icon.
Use Layer> Duplicate Layer (or by using the keyboard shortcut Shift+Ctrl+D).
A new layer which is a nearly identical copy of the active layer added to the image.
Now select the duplicate layer on the Layers Dialog.
Click the Move Tool icon or else use Tools>Transform Tool>Move and then Click and hold anywhere inside the duplicate square layer and drag to the position you want.
You can use the Grid as a guide.
9. Duplicate The Rectangle Layer As Many As You Want
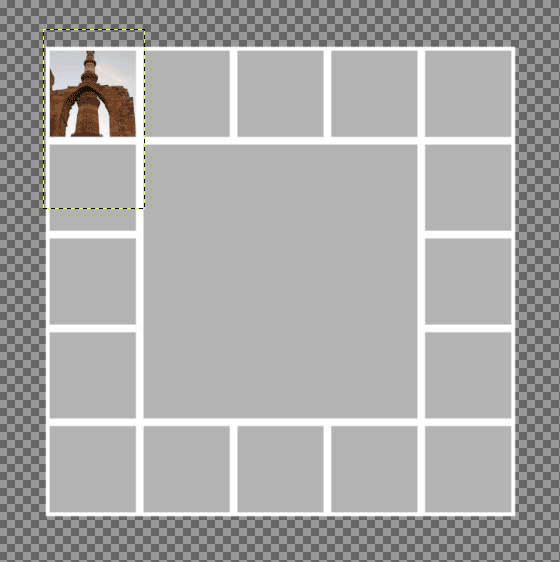
Repeat step 8 to duplicate the rectangle layer as many as you want and then arranged it all to your satisfaction.
Remove the Grid by going to View>Show Grid.
Remove the Grid by going to View>Show Grid.
10. Insert Image
Stock images used in this GIMP Collage tutorial: 422375, 77813, 93446, 818778, 355255, 1025551, 269844, 77814, 2337956, 831534, 1556441, 2427593, 860103, 269846, 712575, 3017964, 727050
Select the rectangle layer to which you want to insert an image.
Use File> Open As Layers command in the top menu (or just pressing Ctrl+Alt+O) to open the image you'd like to insert.
The Open Image as Layers dialog box appears.
Navigate through your folders and click on the image, then click Open.
You can now edit the image as follows:
- Use Tools>Transform Tools>Scale command to resize the image. Click anywhere inside the image. In the Scale dialog box, click the chain icon to keep the image does not distort. Enter new values for the image's width and height manually or through the up and down arrows. Press the Scale button when you are done.
- Use Tools>Transform Tools>Move command to move the image. Click and hold anywhere inside the image and drag.
- Rotate the image by using Tools>Transform Tools>Rotate, a Rotation Information dialog is open. Set the angle, center X, and center Y, and click the Rotate button.
- Press Enter key when you are done.
11. Add a Layer Mask
Toggling the visibility of the image's layer by clicking on the eye icon on the left.
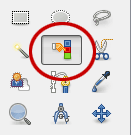
Click “Select by color” tool or else use Tools>Selection Tools>By color Select and then click on the inner rectangle layer that is in gray color.
Click on the image's layer.
Again, toggling the visibility of the image's layer by clicking on the eye icon on the left and then go to Layer> Add Layer Mask, choose “Selection”.
Click the Add button.
Now the content of the Rectangle layer clips the layers above it (the image layer).
You can remove the selection by going to Select> None.
12. Insert Other Images
Repeat steps 10 through 11 to insert all the images.
13. Save Your Document
Use File>Save command in the top menu or else just press Ctrl+S to save your project file.
The Save Image dialog box appears.
Navigate to the folder where you want to store your project file.
Type a name in the Name text box and leave the default GIMP (*.XCF) format.
XCF is GIMP's native format and is useful because it stores everything about your image and will allow you to later edit your image in GIMP, in case you notice a problem.
Click Save to store the project file.
Once you have finished, you will probably also want to export the image in a more widely used format, such as JPEG, PNG, TIFF, etc.
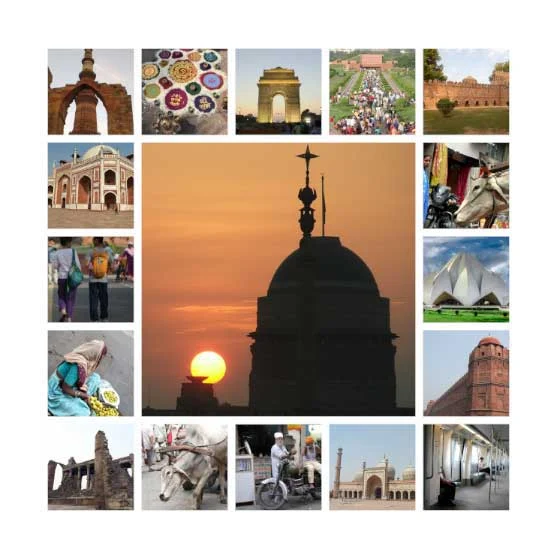
Here is the result:
See also other GIMP Collage tutorials:










I know that this article might be a bit old, but it was useful to me.
ReplyDeleteMany Thanks
Glad you liked it. Thank you!
DeleteHi, I am not sure if this is because o the different version (using the 2.10.24 here) but I can' find the Change Background Color box mentioned in step 7, could you help? (sorryI am really new to GIMP)
ReplyDeleteIf you click the background color box, the Change BAckground Color box will appears.
DeletePlease see step 7 again. I added a new image to explain that. Hope it helped. Thank you.