

Learn how to enhance your photos with a beautiful Watercolor Effect in Photoshop using Blend Modes. By combining watercolor texture files and blending them into your images, you can achieve a unique and artistic look. Easily adjust the position and size of the textures on your canvas using the Free Transform command. Get creative and add depth to your photos with this technique.
If you liked my tutorials, please subscribe to my YouTube channel - JTSGraph.
1. Open your photo.
Select File > Open, click your photo then click the Open button. Your photos will not be damaged so there is no need to duplicate them.
The photo source for this Photoshop tutorial is taken from Pixabay, while the texture files source is taken from Lostandtaken.

2. Open the first watercolor texture.
Select File>Place, find the location of your texture file, click the texture file and then click the Place button.

Adjust the size and position of the texture file so that it covers the canvas by dragging on the Free Transform border box. Press the Enter key when you are finished setting up.

Finally, change the blend mode to overlay.

3. Add the second texture.
Choose File>Place menu to place the next texture. Adjust the size and position on the canvas.

Then change the blend mode to Lighter Color.

4. Add the third texture.
Add a third texture by choosing File>Place and setting its position and size on the canvas.

Change the blend mode to Color Burn.

5. Add the fourth texture.
Go to File>Place menu to open the fourth texture and resize its position.
Then change its blend mode to Multiply. I'm going to set the opacity to 20%.

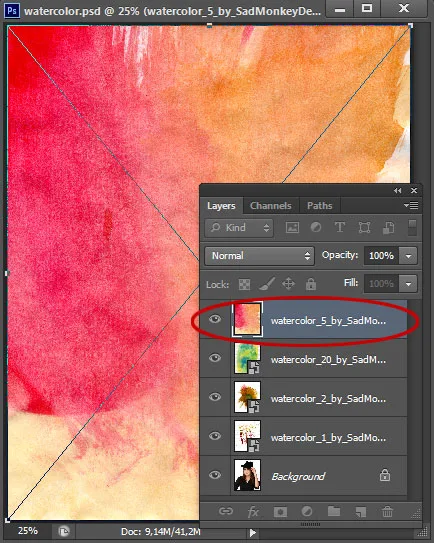
6. Add the fifth texture.
As usual, choose File>Place menu, click your texture file and then click the Place button. Set the texture file size to match the canvas size then press the Enter key.

Change the blend mode to subtract and set the opacity to 20%.

One of the advantages of Photoshop is that layers have color blending settings or blend modes. By making a combination between layers, adjusting the blend mode and adjusting the opacity, you can produce interesting photo effects.
One of them is the watercolor effect or the mixed art effect or also known as the watercolor painting effect. The blend mode settings for each layer above are just examples. You can adjust depending on the texture files you have. Keep experiment until you get the watercolor effect you want.
There you have it! Watercolor Effect in Photoshop using Textures.
No comments:
Post a Comment