In this tutorial, you'll discover how to create a stunning vertical Triptych photo collage template in Photoshop using the Custom Shape Tool. Transform your images into a captivating three-section artwork that is perfect for showcasing your photography skills. Don't forget to save your masterpiece as a template for future use with just a simple swap of images. Let's unleash your creativity!
Download Triptych Photoshop Collage Template (PSD)
Download this Vertical Triptych Photoshop Collage Template here or find others Photoshop Collage Templates here.
Steps to make a vertical triptych photo collage in Photoshop:
1. Create new document.
Choose File>New to create a new document for your collage template.
2. Create Guides.
Choose View>New Guides or just drag your mouse from the Rulers to create Guides.
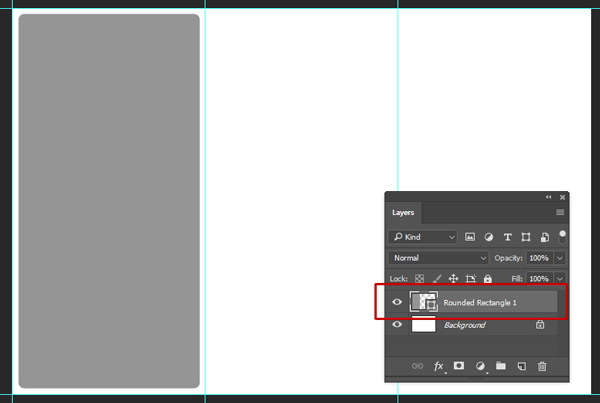
3. Draw shape.
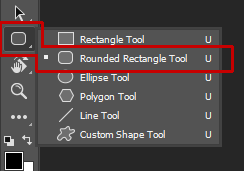
Grab the Rounded Rectangle Tool from the Tools panel on the left.
The Rounded Rectangle Tool.
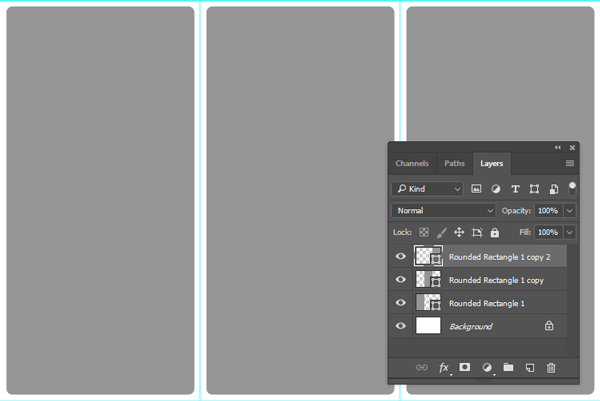
4. Duplicate shape.
Press Ctrl+J to duplicate shape then Move it using the Move Tool.
5. Insert image.
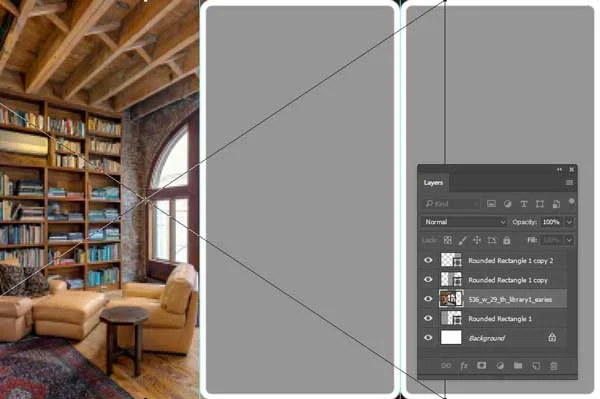
Select the shape layer you want to insert an image.
Insert your image using File>Place Embedded. Resize/move the image then press Enter.
7. Create clipping mask.
Create Clipping Mask (Layer>Create Clipping Mask).
8. Insert all images.
Repeat the previous steps to insert all the images.
9. Save document.
Save the document as a template for later use. Just change the images.
Here is the result: Vertical Triptych Photoshop Collage Template.


2. Very nice informative article keep sharing more and if you need Photoshop Course services do check us out kwikl.com .
ReplyDelete