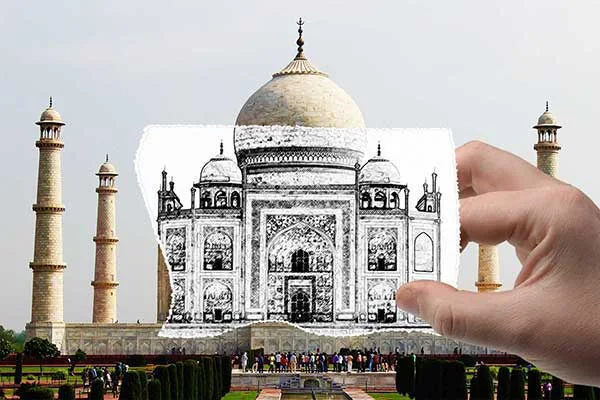
Here is a tutorial to create photo to sketch effect on a ripped paper with Photoshop. The sketch effect is made by utilizing the Gaussian Blur, Glowing Edges, and Charcoal filter. While the effect of torn paper made by using filters Brush Strokes Spatter.
Step 1: Open Photo
Select File> Open to open your picture. Duplicate the layer by pressing Ctrl + J if you want to backup the original photograph. For this Photoshop tutorial, I'll use this image that I downloaded from Pixabay.
Step 2: Create a Vibrant and Contrast adjustment If Needed
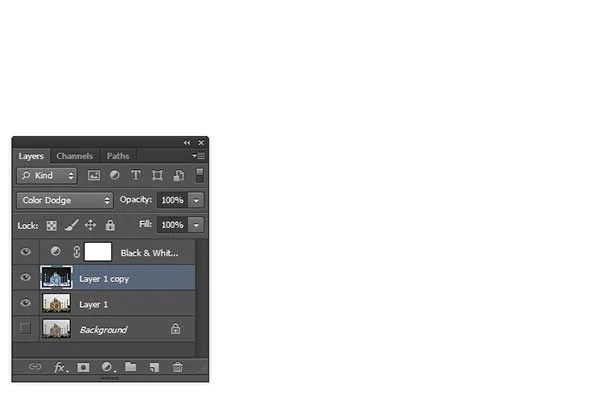
Step 3: Duplicate Layer
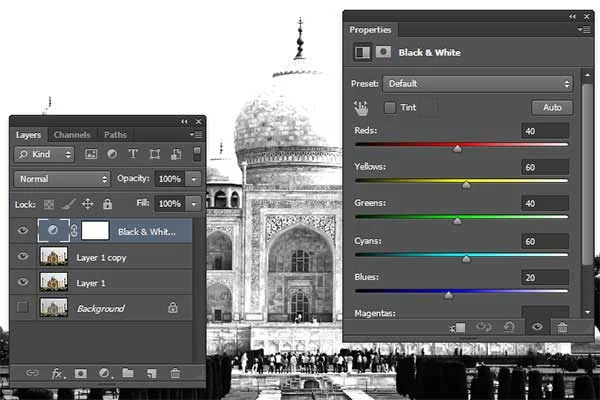
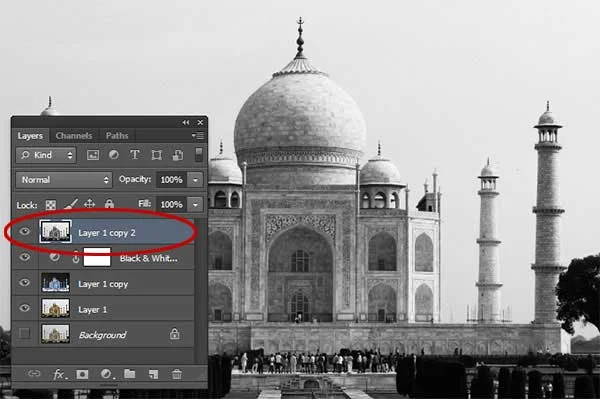
Step 4: Create Adjustment Black And White
Choose Layer> New Adjustment Layer> Black & White.
Step 5: Invert Layer
Choose Image> Adjustment> Inverse.
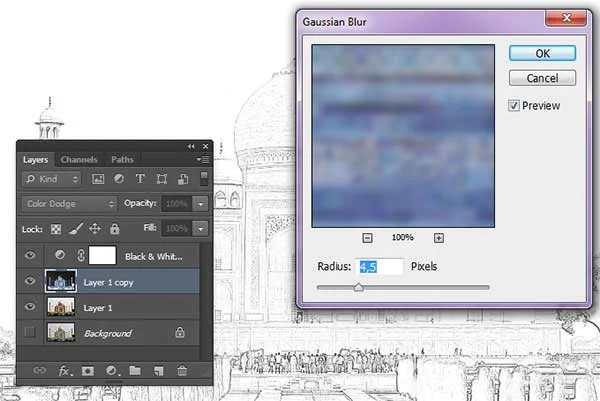
Step 6: Apply Gaussian Blur
Choose Filter> Blur> Gaussian Blur.
Step 7: Duplicate Layer And Desaturate
Click on the photo layer, press Ctrl + J to duplicate it, drag it to the top position, then select Image> Adjustments> Desaturate.
Step 8: Apply Filter Glowing Edges
Choose Filter> Filter Gallery> Stylize> Glowing Edges.
Step 9: Invert Image
Select Image> Adjustments> Invert. Change its blend mode to Multiply.
Step 10: Duplicate Layer And Desaturate
Click on the photo layer, press Ctrl + J to duplicate it, drag them to the topmost position, then select Image> Adjustments> Desaturate.
Step 11: Apply Charcoal Filter
Then change its blend mode to Multiply. Then group the layer by choosing Layer> Group Layer. Name it like, for example, Sketch effect.
Step 12: Create a New Layer
Create a new layer for ripped paper effect by choosing Layer> New Layer. Fill with white color by choosing Edit> Fill. Then make a selection using the Lasso Tool to create a paper shaped. Create a Layer Mask by choosing Layer> Layer Mask> Reveal Selection.
Step 13: Apply Spatter Filter On Mask
Choose Filter> Filter Gallery> Brush Strokes> Spatter.
Step 14: Duplicate the layer Paper
Step 15: Create a Layer Mask on Sketch
Right-click the layer mask of paper and then select Add Mask To Selection.
Click the sketch layer group then go to Layer> Layer Mask> Reveal Selection.
Step 16: Add Hand Photo
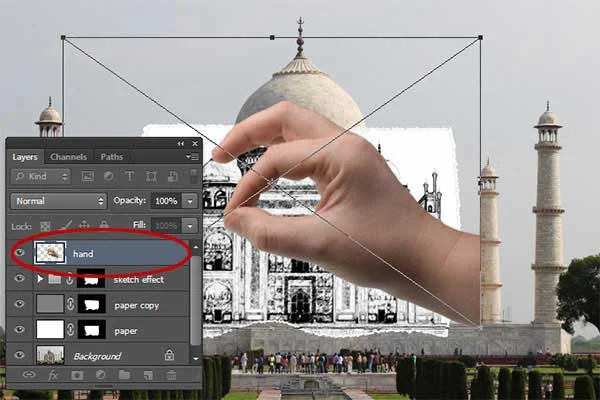
Choose File> Place, select the image and then click the button Place. Then rasterize it by choosing Layer>Smart Object>Rasterize.
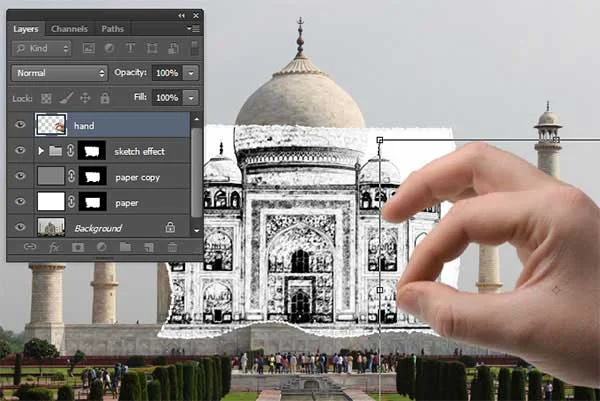
Step 17: Adjust Using Free Transform
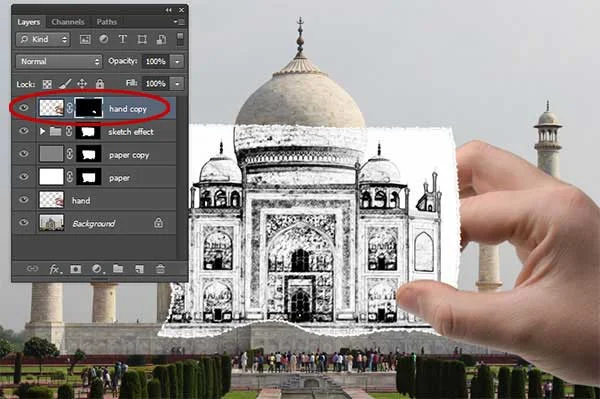
Step 18: Duplicate the hand layer
Choose Layer> Duplicate Layer to duplicate hand layer.
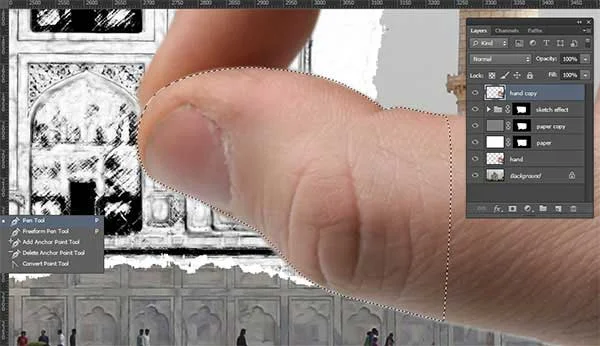
Step 19: Create Selection of Hand Then Create Layer Mask
Create a selection using the Pen Tool on the hand.
There you have it! Photo To Sketch Effect on a Ripped Paper With Photoshop.






No comments:
Post a Comment