Today, I am going to take you through the process of creating a photo collage of 12 pictures around a hexagon in Photoshop. We will use the Grid to help us position shapes precisely, the Custom Shape tool to draw hexagon shape, the Polygonal Lasso Tool to draw Polygonal shapes and Clipping Mask.
Watch the video for detailed instructions and use the written steps for quick reference.
If you liked my tutorials, please subscribe to my YouTube channel - JTSGraph.
Download This Template
Download 12 Pictures Around a Hexagon Photoshop Collage template here or find others free Photoshop Collage Templates here.
Steps to make a collage of 12 images around a hexagon in Photoshop:
1. Create new document.
Choose File> New (or just press Ctrl+N). In the pop-up window, type a name in the Name field and enter the following information: Width 3000 pixels, Height 3000 pixels, Resolution 300 Pixels/Inch, Color Mode RGB color, and Background contents Transparent. Click OK.
2. Show the Grid.
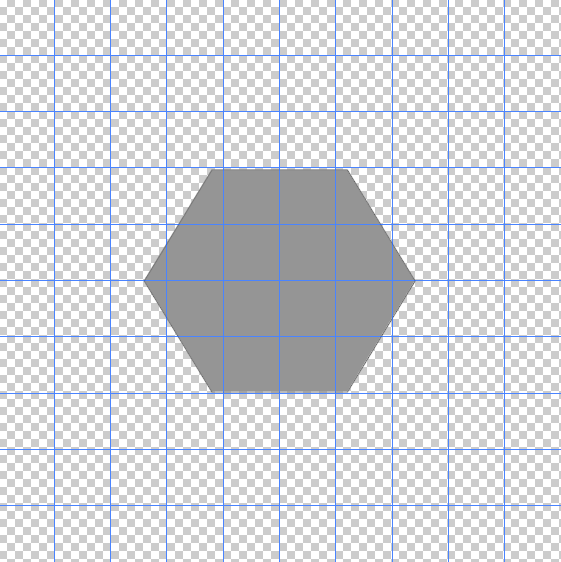
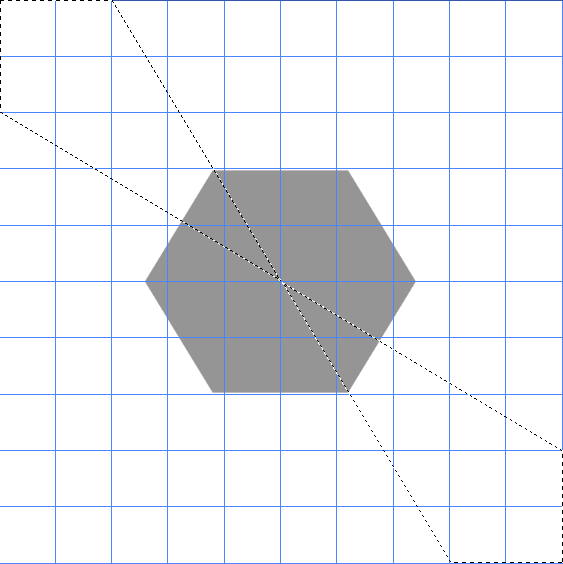
To add a grid, choose View>Show>Grid. Open up the grid preferences, choose Edit> Preferences> Guides, Grid & Slices. Choose the color you want for the grid lines. Set the “Gridline every” option to be 10 percent and “Subdivisions” option to be 1. Choose View>Snap and then choose View>Snap to>Grid, to enabling snaping that will help you to align any object, shape or selection you want. We create a grid to assist us in laying out selections symmetrically.
3. Grab the Custom Shape tool.
Grab the Custom Shape Tool from the Tools panel (or just press U).
In the Options Bar, make sure Shape is chosen from the menu then choose shape color.
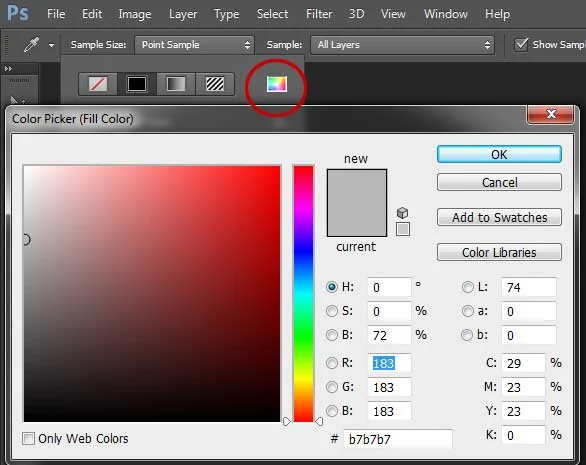
To choose the color of the shape, click the color swatch in the options bar, and then choose a color available. You can also choose a color from the Color Picker.
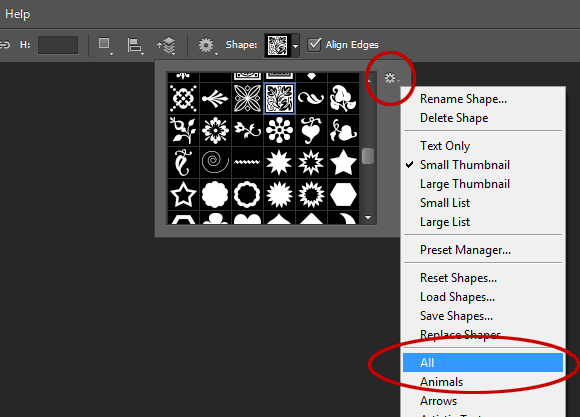
Lastly, enter a value for the stroke size and select a hexagon shape from the Custom Shape pop-up panel.
If you do not find a hexagon shape in the panel, click the arrow in the upper-right corner, and choose “All”.
When asked to replace current shapes, click OK to replace current shapes with the shapes form “All”.
4. Draw a hexagon shape.
Click-drag away from the starting point. When you release your mouse button, Photoshop completes the shape and fills it with your chosen color.
5. Create a new layer for background.
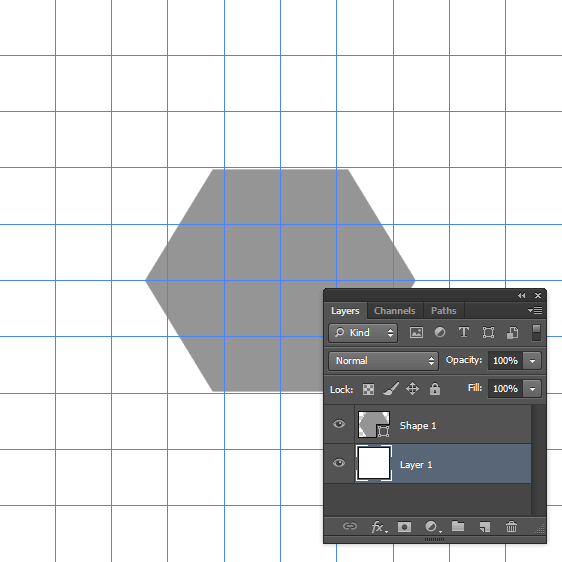
Choose Layer>New>Layer (or just press Shift+Ctrl+N). In the Layers panel, a layer with the default name of Layer 1 appears. Drag the new layer to the bottom position.
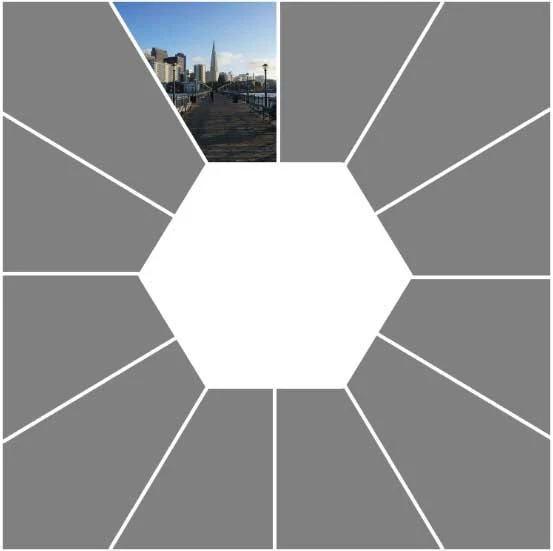
6. Create Polygonal selections.
Grab the Polygonal Lasso Tool by selecting it from the toolbar on the left.
Click to create corners. Click the starting point to join the open ends of the selection.
Click to create corners. Click the starting point to join the open ends of the selection.
Create a new layer by going to Layer>New>Layer (or press Shift+Ctrl+N). in the New Layer dialog box, leave the default settings and click OK.
Fill the new layer with gray color. Choose Edit>Fill (Shift+F5). In this dialog box, under Contents, select 50% Gray. Click OK. Now, the gray color fills the layer.
Repeat the steps above until you get the desired Collage.
7. Insert an image.
Stock images used in this Photoshop Collage tutorial: bridge-943449, coast-731413, golden-gate-bridge-388917, golden-gate-bridge-1326994, houses-1590009, ocean-1116317, pavilion-602553, san-francisco-210230, san-francisco-1116316, san-francisco-1633204, san-francisco-1963748, and usa-1206240.
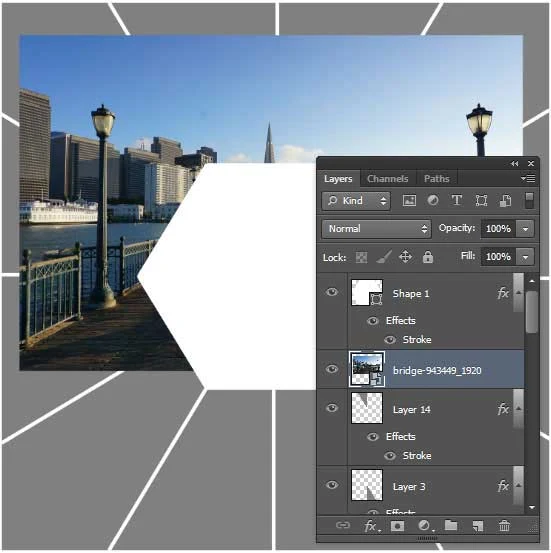
To insert an image into the collage, you must stack the image layer above the shape layer. Select the layer to which you want to insert an image. Go to File> Place to open the image you'd like to insert. Navigate to the folder that contains your image file then select the name of the file you want to open. If your file does not appear, try to view all files by selecting All Formats from the Files of type list. Click Place.
To insert an image into the collage, you must stack the image layer above the shape layer. Select the layer to which you want to insert an image. Go to File> Place to open the image you'd like to insert. Navigate to the folder that contains your image file then select the name of the file you want to open. If your file does not appear, try to view all files by selecting All Formats from the Files of type list. Click Place.
8. Create Clipping mask.
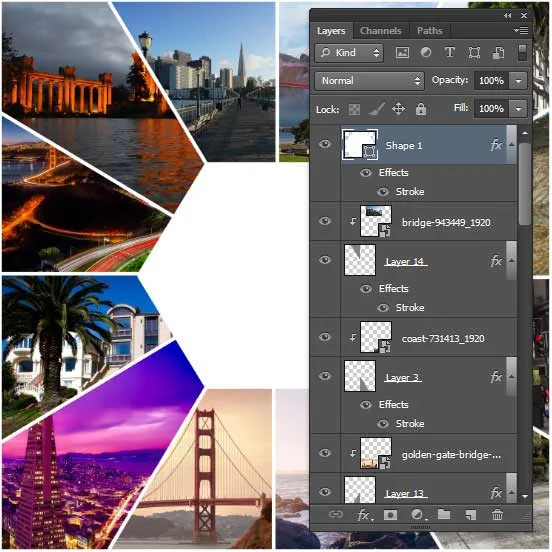
On the Layers panel, make sure the layers to be clipped are listed consecutively. Remember, you must stack the image layer above the shape layer. Click the image layer to be clipped, then choose Layer>Create Clipping Mask (or just press Alt+Ctrl+G). When layers are put into a clipping mask, the content of the bottommost layer (the polygonal shape layer), clips the layers above it (the image layer).
9. Edit image.
Click the image layer then go to Edit>Free Transform. You can now edit the image as follows:
- Resize the image by dragging any corner while holding down the Shift key to keep the picture does not distort.
- Move the image by clicking and hold anywhere inside the image and drag.
- Rotate the image by moving your cursor farther out from any corner until you see two arrows. Click and hold, then drag the picture.
- Press Enter key when you are done.
10. Insert other images.
Repeat step 7 through 9 to open and manipulate each image you'd like to insert.
11. Save your document.
Choose File>Save (or press Ctrl+S) to save your project file. Navigate to the folder where you want to store your project file. Type a name in the File Name text box and leave the default Photoshop (*.PSD;*.PDD) format. Click Save to store the project file.
Once you have finished, you will probably also want to use File>Save As (Shift+Ctrl+S) to export the image in a more widely used format, such as JPEG, PNG, TIFF, etc.
There you have it! Photo Collage in Photoshop (12 pictures around hexagon).










Hmm… I interpret blogs on a analogous issue, however i never visited your blog. I added it to populars also i’ll be your faithful primer. how to smooth skin in photoshop
ReplyDelete