This text effect tutorial will take you through the process of how to put an image inside text using Paint.NET. I will use the Text Tool to create the text on canvas, the Move Selected Pixels tool that comes with Paint.NET to move and resize the text, and the Magic Wand Tool to create a selection. Let's get started!
Steps to put an image inside text in Paint.NET:
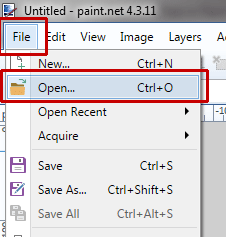
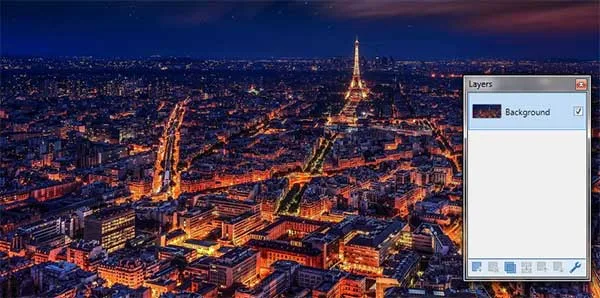
1. Open image.Navigate to the file and click on its name, then click Open.
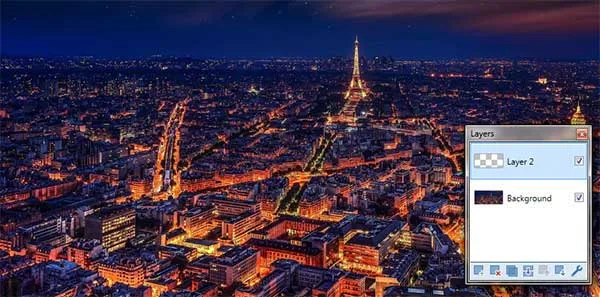
In the Layers Window, a new, transparent layer with the default name of Layer 2 appears above the Background (image) layer.
3. Fill the new layer with color.
Choose a color for background by setting the Primary colors in the Colors window. Select Primary from the drop-down list in the Colors Window then choose a color you like by clicking on the Colors Wheels.
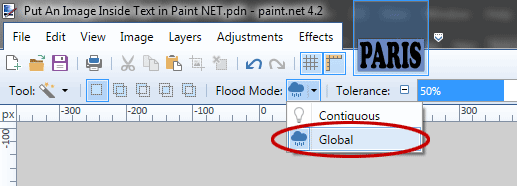
Select the Paint Bucket tool. In the Options bar, select Global Flood Mode and Fill with Solid Color.
4. Create a new layer for text.
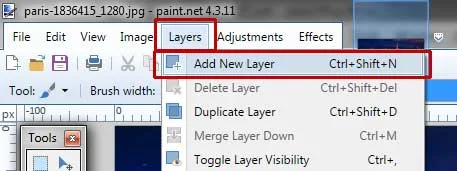
Create a new layer for the text by going to Layers> Add New Layer (or Ctrl+Shift+N).
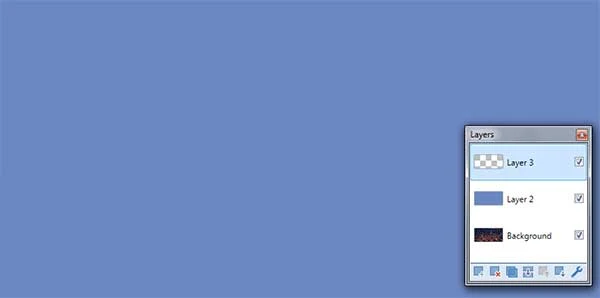
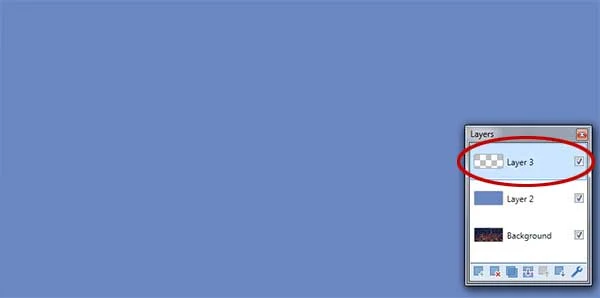
A new, transparent layer, immediately added to the layer stack on the Layers window, just above the active layer. Now we have three layers, the Background (image) layer, Layer 2 for background, and Layer 3 for the text.
5. Select the Text Tool.
To places text into an image we need to use the Text tool. Select the Text Tool from the Tool Window by clicking the tool icon or else just press T.
In the Text Tool Options, you can choose the font type and size.
In the Colors Window, choose black for the Primary color.
6. Type the text on the editing window.
Make sure the text layer is selected by clicking on it in the Layers Window.
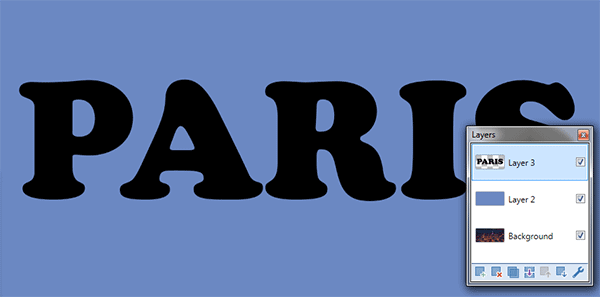
Click on any portion in the Editing Window, where you would like to create the text, then type the text.
Press Esc key or click Finish in the Tool Bar when finished.
7. Adjust text on canvas.
Select the Move Selected Pixels tool or else just press M once.
Click and drag to move the text to another location.
8. Resize the text.
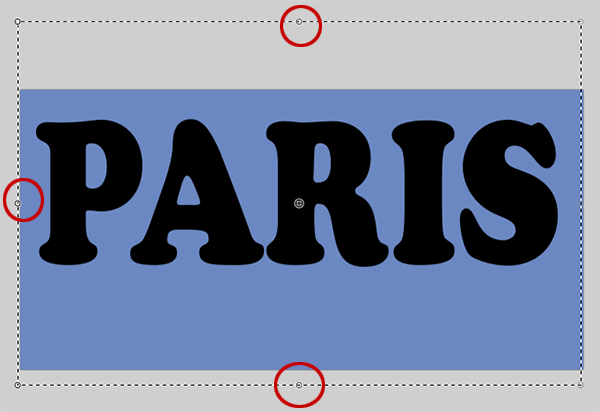
Now we'll use the Move Selected Pixels tool to adjust the size of the text. When the Move Selected Pixels tool is active, you'll see several handles appear on the edges and corners of the selection. These handles called Control Nubs.
Click and drag the handle on the edges to resize the text. You can use the keyboard shortcut Ctrl++ to zoom out image and Ctrl+- to zoom in.
9. Make selection in text.
The next step is to make a selection around the text. Select the Magic Wand Tool in the Tools Window or just press S four times.
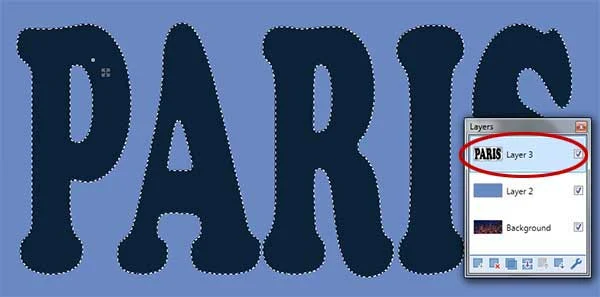
Click on your text to create a selection. You'll see marching ants around your text. Paint.NET loads selection outlines that correspond to the shape of your text. Now you have the selection on the text.
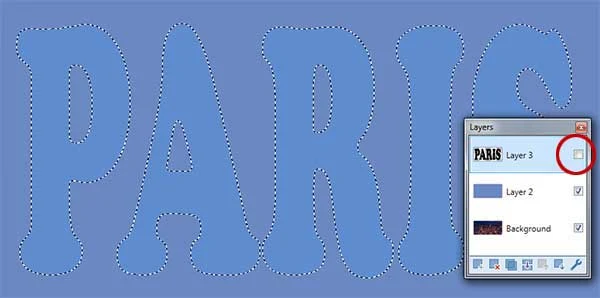
Untick the visibility checkbox beside the layer in the Layers Window.
10. Activate the background layer (Layer 2) then press the Delete key.
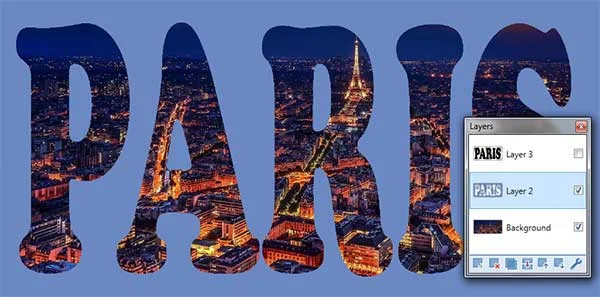
Select the background layer (Layer 2) in the Layers window to make it active then press Delete.
You will see the letters forming the word PARIS is now filled with the image of Paris below it.
11. Save document.
At last, use File>Save (or Ctrl+S) to save your project file. In the Save As window, navigate to the folder where you want to store your project file. Type a name in the File name text box and leave the default Paint.NET (*.pdn) format. Pdn is Paint.NET's native format and is useful because it stores everything about your image and will allow you to later edit your image in Paint.NET, in case you notice a problem. Click Save to store the project file.
Once you have finished, you will probably also want to export the image in a more widely used format, such as JPEG, PNG, TIFF, etc.











Very helpful. Thank you.
ReplyDeleteYou're welcome. Glad you liked it!
Delete