In today’s Photoshop tutorial we’ll learn how to make a photo collage number template in Photoshop fast and easy using Contact Sheet. We'll be using contact sheet to create a grid. Type a number, load selection and then create layer mask. You can insert images using File-Place, Clipping Mask and resize it using Free Transform.
If you liked my tutorials, please subscribe to my YouTube channel - JTSGraph.
Download Photo Collage Number Template (PSD)
Download this Photo Collage Number collage template here or find others Photoshop Collage Templates here.
Steps to make a number collage in Photoshop:
1. Create a square image.
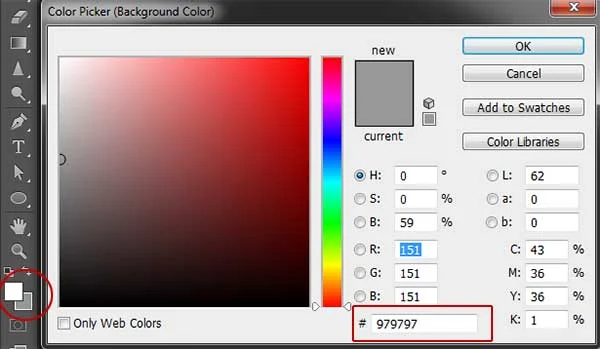
Click the Background color box then choose grey color.
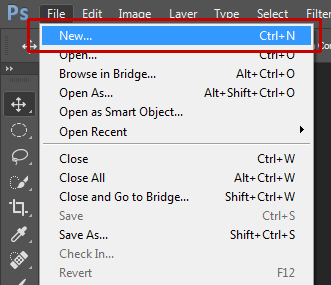
Choose File> New (Ctrl+N) to create a new document.
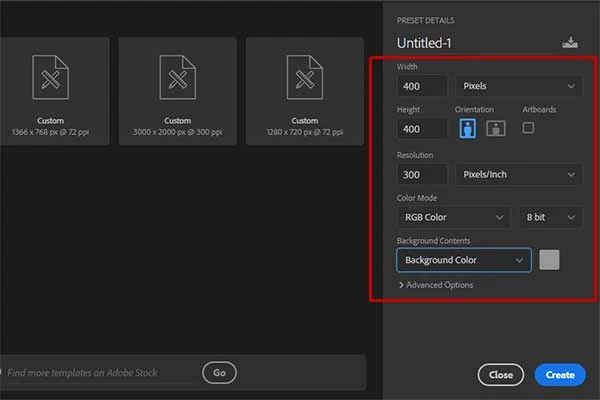
Enter the following information: Width 400 pixels, Height 400 pixels, Resolution 300 Pixels/Inch, Color Mode RGB color, and choose Background color for the Background contents. Click OK.
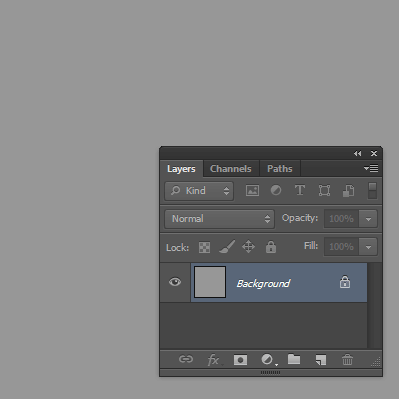
Create a square image.
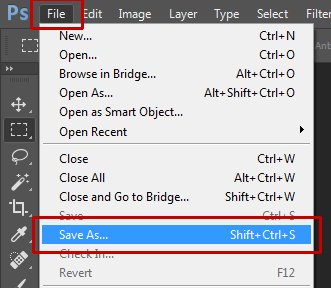
Choose File>Save As (or Shift+Ctrl+S).
Save As .PNG or .JPG
2. Duplicate the square image.
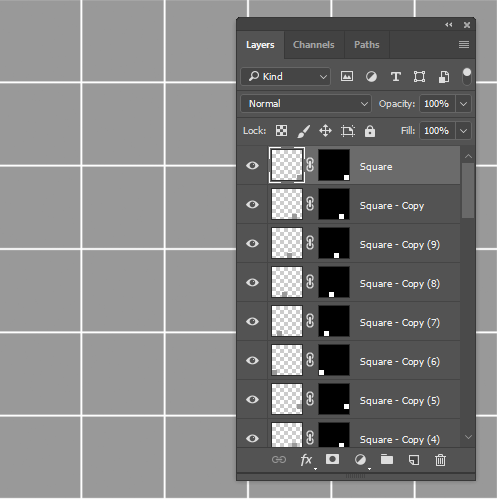
Duplicate the square image using Ctrl+C (copy) then Ctrl+V (Paste). For this Photoshop tutorial, I'll duplicate it 35 times to create a 6x6 contact sheet.
3. Create a Contact Sheet.
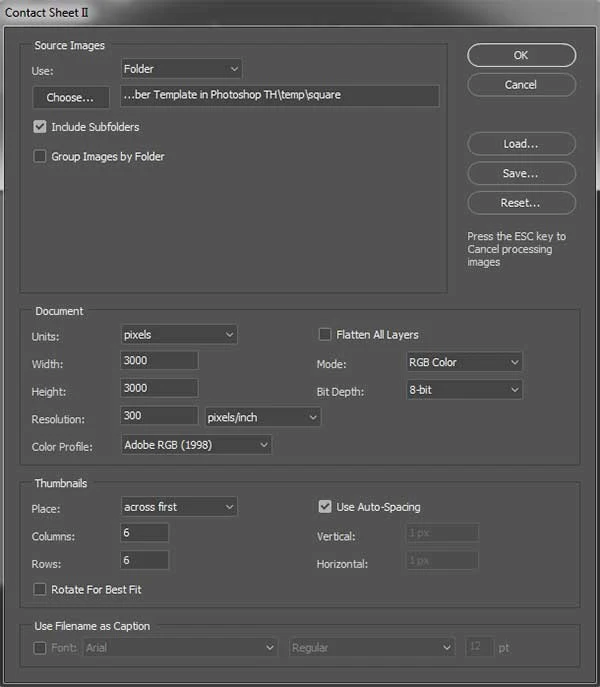
I’ll create a 6x6 Contact Sheet. Choose File > Automate > Contact Sheet II.
Choose your source folder (your square images). Choose Width, Height, and Resolution values for the contact sheet. Choose across first and the desired number of Columns and Rows. Click OK.
4. Delete all layer mask.
Right-click on every layer mask thumbnail then choose Delete Layer Mask. We'll be using clipping mask to insert images.
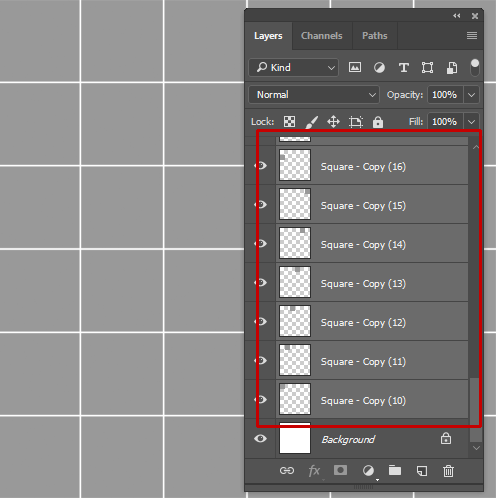
5. Group all square layers.
While holding down the Shift key, click the first and last square layer.
All layers grouped.
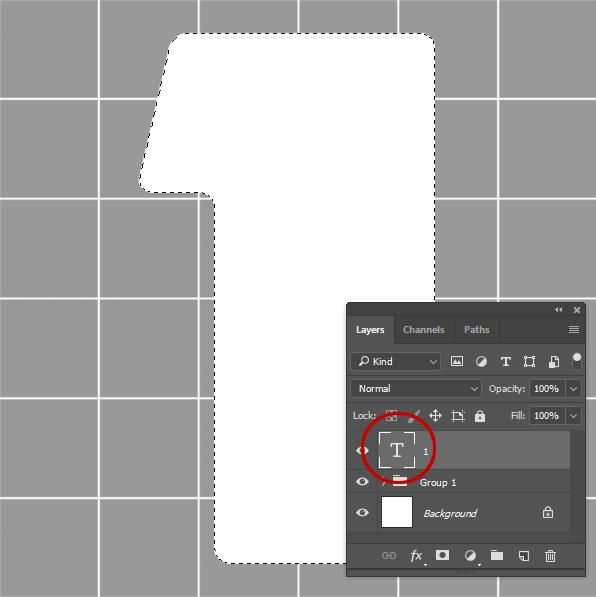
6. Type a number.
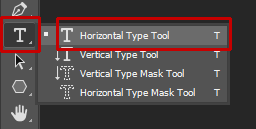
Grab the Horizontal Type Tool in the Tools Panel.
7. Load selection.
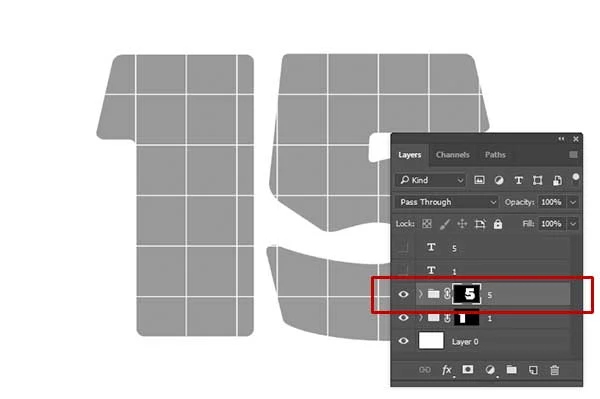
8. Create layer mask.
Hide the number layer visibility and select the Group layer by clicking on it.
9. Duplicate group.
Press Ctrl+J to duplicate the Group layer if you want to create another number. Load Selection and create layer mask.
10. Insert image.
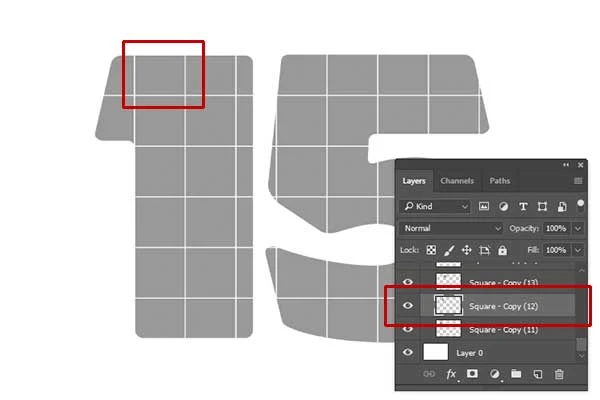
Activate/Select the square layer you want to insert an image.
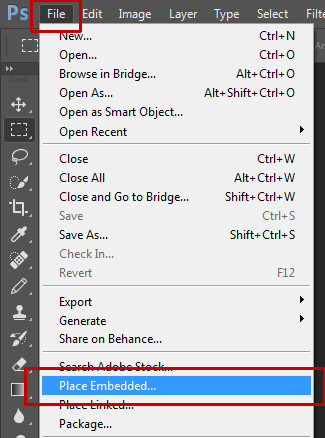
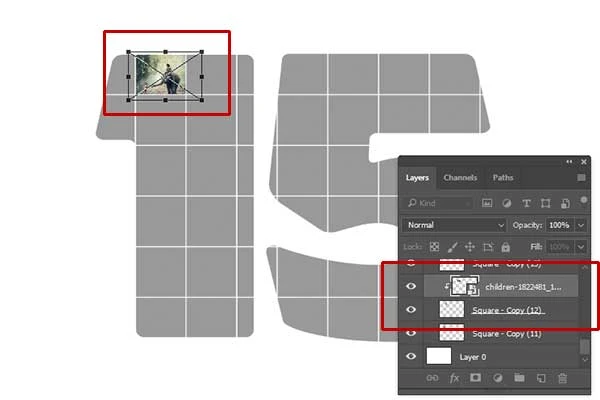
Choose File>Place Embedded to insert an image into the document then press Enter or click Commit checkmark.
Insert an image into the document.
Create clipping mask by choosing Layer>Create Clipping Mask.
12. Resize the image.
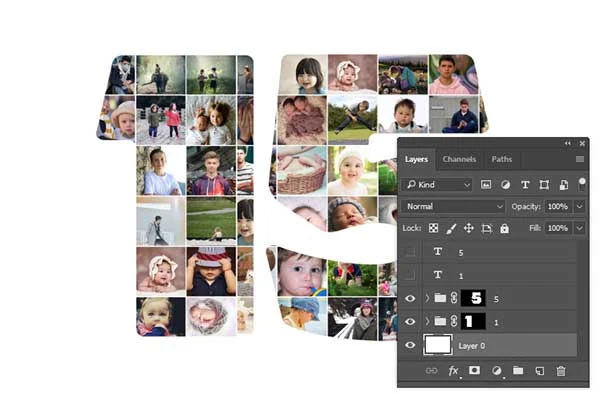
13. Insert all images.
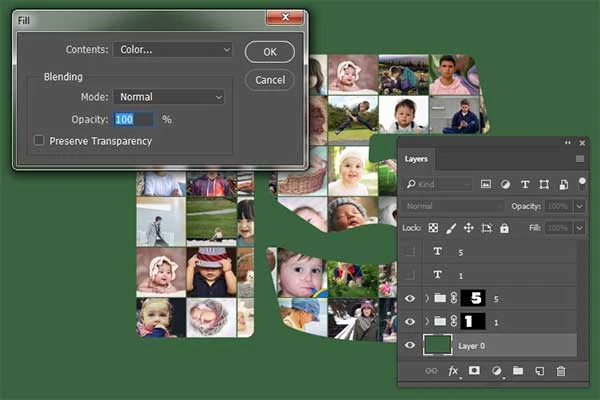
14. Add background.
There you have it, a photo collage number in Photoshop!
15. Save document.
Choose File>Save or Ctrl+S to save your project file. Once you have finished, you will probably also want to export the image in a more widely used format, such as JPEG, PNG, TIFF, etc.











i cant' get this to work during the step where you Place Embedded
ReplyDeleteGreat tutorial! Creating a number-shaped photo collage in Photoshop looks super creative and easy with these clear steps.
ReplyDelete