Learn how to use Batch Processing in Photoshop to resize multiple images at once. We will use an action to resize the image.
We will start off with creating two folders to store the source and resized images, copy images into the ‘SOURCE’ folder, recording an Action to resize the image, finally resizing images at once using File>Automate>Batch. Let's get started!
Video: How To Resize Multiple Images at Once in Photoshop.
Watch the video for detailed instructions and use the written steps for quick reference. If you liked my tutorials, please subscribe to my YouTube channel - JTSGraph.
Stocks https://media.daimler.com/
Steps to resize multiple images at once in Photoshop:
1. Create two folders.
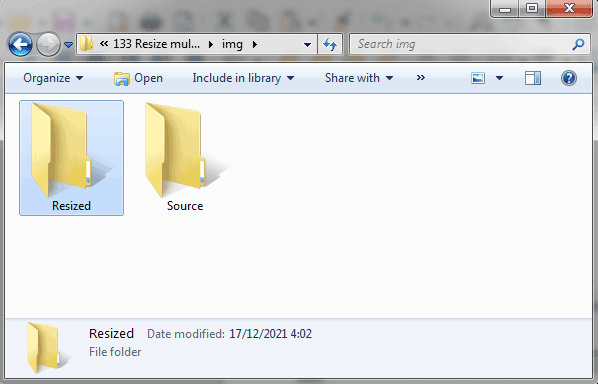
Start the Windows Explorer then create a folder by clicking the New Folder button at the top.
The new folder appears, with blue highlighted text. Type a new name for that folder (like “SOURCE”) then press Enter.
Create two folders. One folder for the source images (you can name it “SOURCE”) and another one for the resized images (name it “RESIZED”).
2. Copy source images into the “SOURCE” folder.
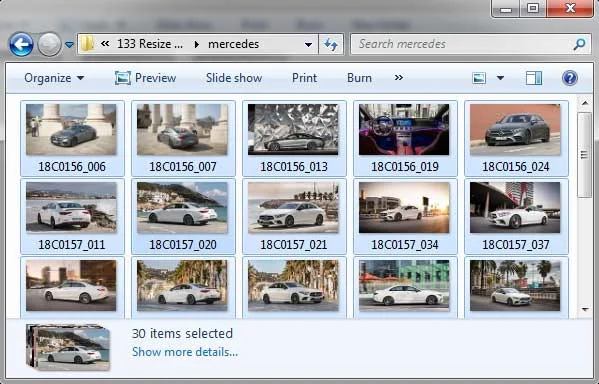
Select images you want to add to your new folder. To select more than one image, hold down the left Ctrl key on your keyboard. With the Ctrl key held down, click each file you want to add. Once you have selected your images, press Ctrl+C to copy them to clipboard.
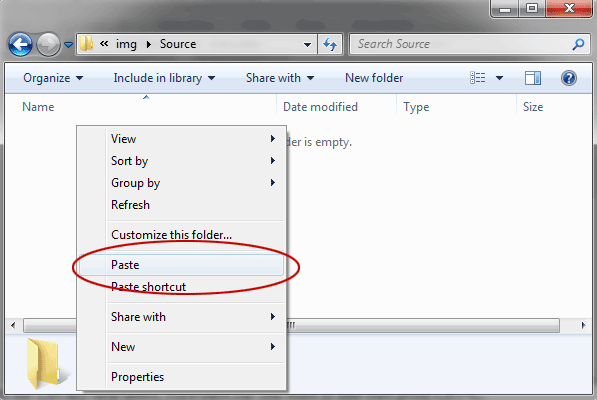
Now navigate back to the “SOURCE” folder you've just created. Double click the “SOURCE” folder to move inside of it. Right-click anywhere inside it, and from the menu, select Paste.
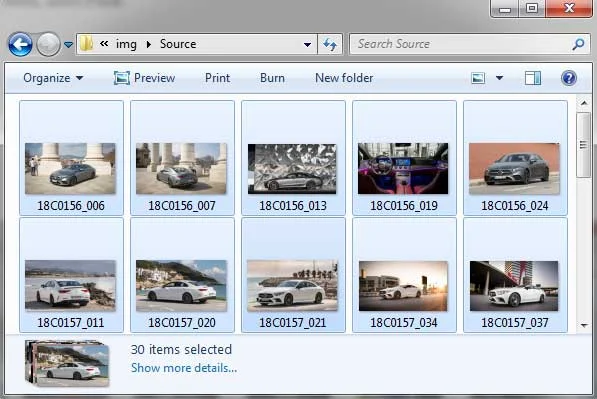
The images will be copied and pasted over to the “SOURCE” folder.
3. Create an action to resize images.
Select Windows>Actions or Alt+F9 to open the Action panel.
The Actions Panel.
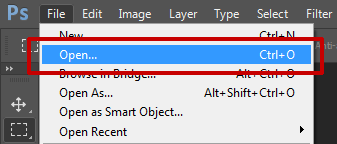
Open an image from the ‘SOURCE’ folder by going to File>Open.
Open an image.
Click Create new Action icon in the Action panel. The New Action dialog box appears. Named the Action "Resize", set to Default Actions then click the Record button.
The Begin Recording button in the Actions panel turns red.
4. Perform the operations to resize the image.
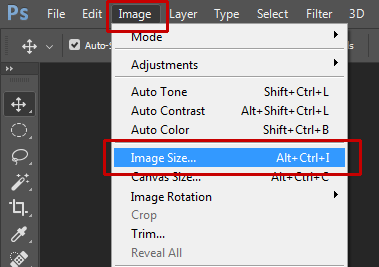
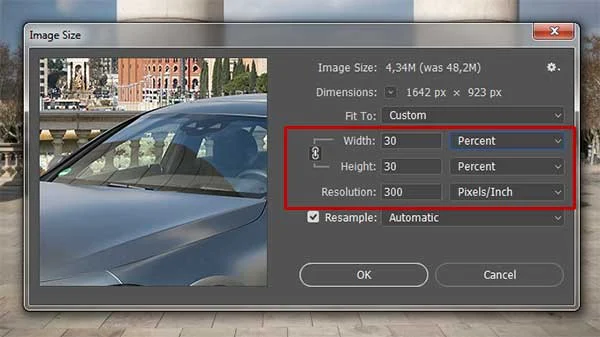
Choose Image> Image Size to perform the operations to resize the image.
5. Save your image.
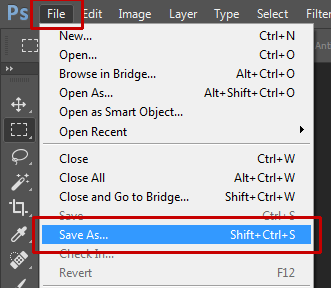
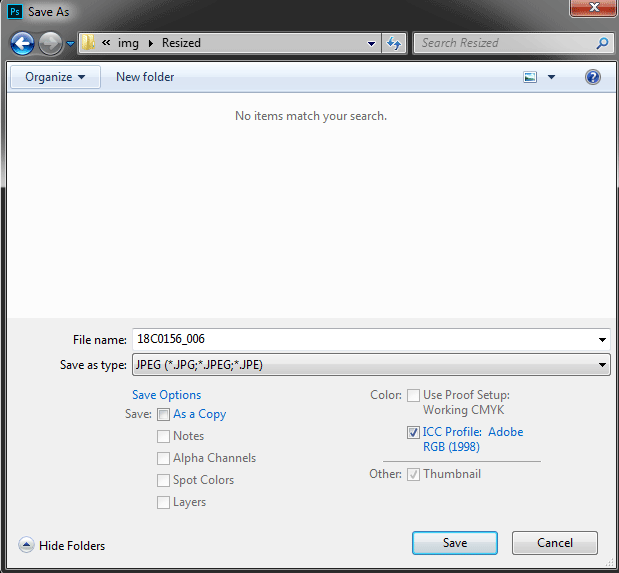
Choose File>Save As to save the cropped image in the "Resized" folder.
The Save As dialog box appears. Navigate to the “Resized” folder where you want to store the file. Type a name in the File Name text box. Click Save to store the image.
6. Stop recording.
Stop recording by clicking the Stop Playing/Recording button then close the image.
Close the image.
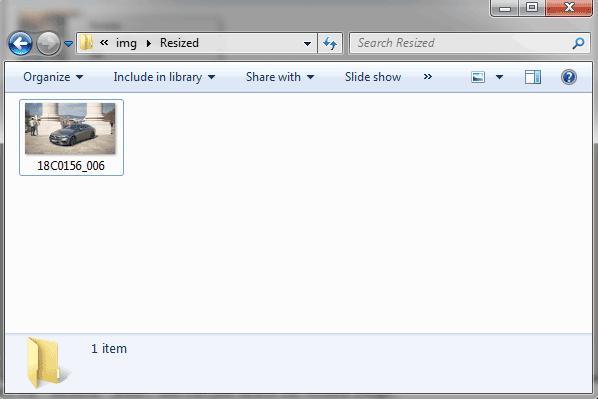
Open the “Resized” folder. You can just delete the resized image.
7. Start resizing multiple images.
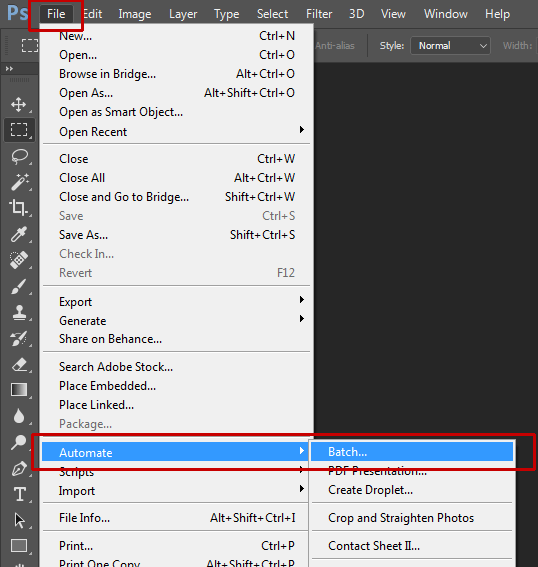
Go to File>Automate>Batch.
The Batch dialog box appears. Choose the Images-Resize Actions you created earlier. Choose the images source folder. Choose the destination folder. Check "Override Action Save As Command". Type the file naming. Choose Document Name and Extension. Click OK.
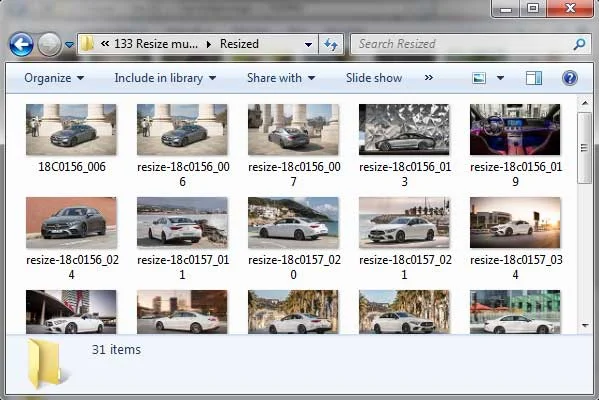
Wait for a moment until Photoshop finishes resizing your images. You can see the results in your Resized folder. There you have it! How to resize multiple images at once in Photoshop using action.









No comments:
Post a Comment