

Here's a tutorial on the multiple exposure effect in Photoshop. Namely giving the effect of color and light differences in the shadows of our portrait photos. To adjust the color difference, we can use a gradient map or if you want it easier, you can use Hue/Saturation. Curves are used to adjust the brightness of the light. To apply hue/saturation and curves, we recommend using an adjustment layer so it doesn't damage our photo. The next step is to make the three layers into one group, then duplicate the group. Each group we set the value of hue / saturation respectively in order to obtain a different color.
1. Open your Photos
After opening the Photoshop application, select the File menu> Open.
In the Open dialog box, click your photo file and then click the Open button.
While holding down the Alt key, double click the background layer so we can edit it.
The photo source for this Photoshop tutorial is taken from Microsoft Office Image.

Open Photo
2. Photo Selection
If the portrait photo that we are going to edit has a background, we can remove it using the selection tool and then use masking.
The sample photo of this tutorial we only need a woman's photo and will remove the photo background.
We will remove it by doing a selection.
Click the Quick Selection Tool icon, then click drag on the photo background.
To remove the selection that we don't want, click on it while holding down the Alt key.
Please adjust the brush size to reach the narrow parts.
To increase the brush size, press the open parenthesis ] and the closing bracket [ to reduce it.

Background selection.
3. Selection Inversion
Perform the inversion of our selection by selecting the menu Select>Inverse.

Selection Inversion.
4. Create a Mask
We'll be using a layer mask to remove the image's background, so there's no need to delete it.
With the image still selected, click the Add Layer Mask icon at the bottom of the palette.
The photo background is now gone.
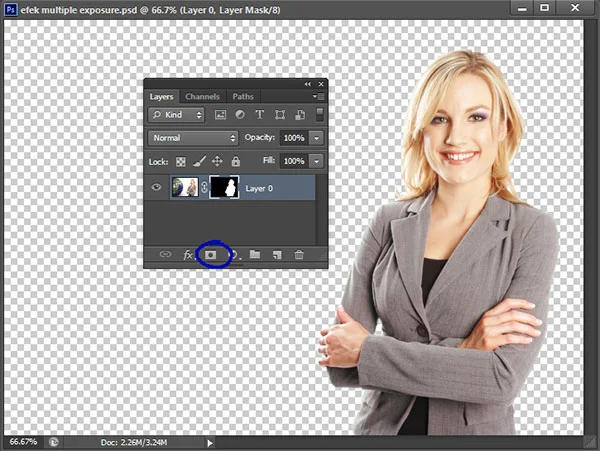
Create a Layer Mask.
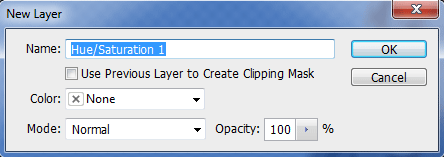
5. Add Hue/Saturation.
Select menu Layer> New Adjustment Layer> Hue / Saturation.
In the New Layer dialog box, click the OK button.
Move the Saturation slider to position -100 to get a black and white photo.
The Hue Saturation dialog box.

Hue/Saturation.
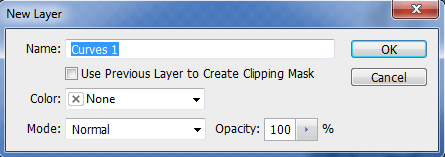
6. Add Curves
To adjust the brightness of the photo we will add a Curves adjustment layer.
Select menu Layer> New Adjustment Layer> Curves.
In the new layer dialog box that appears, click the OK button.
Next, please adjust the curve by clicking and then dragging so that the brightness of the photo color you want is obtained.
Curves adjustment dialog.

Curves adjustment layer.
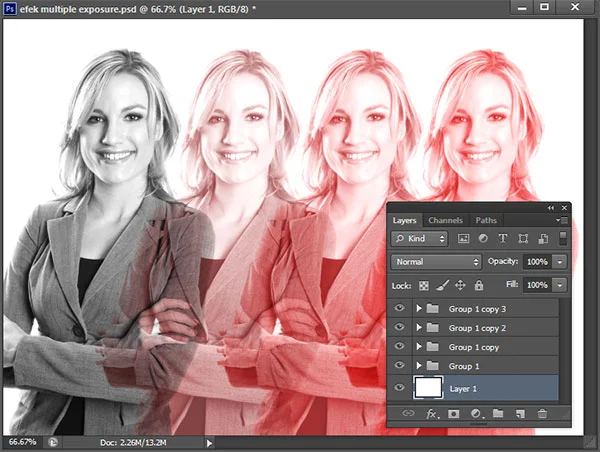
7. Group all layers into one group
We have formed three layers namely photo layer, Hue Saturation and Curves.
To make it easier to duplicate layers, we will make the three layers that have been formed into one group.
While holding down the Ctrl key, click on the three layers then press Ctrl+G.
By default a group will be formed with the name Group 1.

Layers Group.
8. Swipe Image to the left
Click the Move Tool icon in the Tool Panel, then click and drag the image to the left corner.
Change the Group 1 blend mode to Multiply.
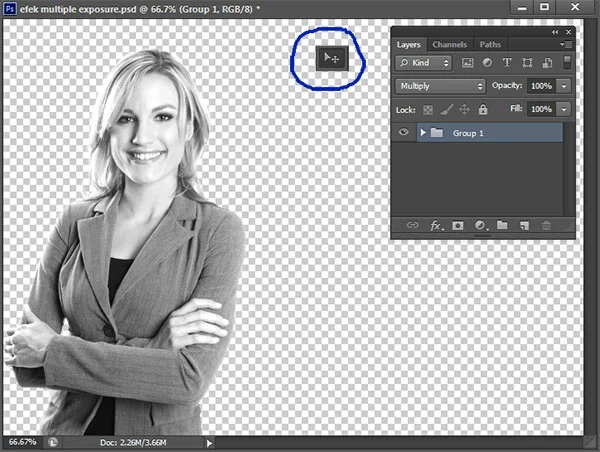
Swipe left and change the blend mode to multiply.
9. Resize the canvas if it's too narrow
If the width of the photo is too narrow, change the canvas size by selecting the Image>Canvas Size menu.
Fill in the column width you want then click the OK button.
10. Duplicate the Group
Duplicate Group 1 by pressing Ctrl+J.
By default a new group is formed with the name Group 1 copy.
Click on the arrow to the left of the Goup 1 copy name to open all the layers in that Group.
Then double click the Hue/Saturation layer icon to edit the hue saturation.
Check the Colorize checkbox and change the Saturation value to a value of 26 to give it a red color and the Lightness to a value of 40.
Click iconMove Tool then click and drag the image slightly to the right.
Do this step by duplicating the Group to form four layer groups.
For Group copy 2, set the saturation to 45.
While group copy 3 set the Saturation value to 60.
Thus the exposure effect is obtained with the color to the right getting redder.

Duplicate Group.
11. Create a Blank layer for the background
Click the Create new layer icon located at the bottom of the panel then drag it to the bottom position.
Press the D key to reset the foreground/background color to default.
Then press Ctrl+backspace to fill it with a white background color.
We have finished our multiple exposure effect.
Also check out the tutorial on how to create a shadow of a person in Photoshop.
Create a layer for the background.
Here is the result:

Photoshop Multiple Exposure Effect Tutorial.
12. Save Project
Save your project by selecting File>Save menu.
Give it a name then click the Save button.
More on Photoshop tutorial:
No comments:
Post a Comment