Create a Fisheye effect in GIMP by drawing a circle selection using the Ellipse Select tool and apply the Spherize filter to it. You can then add a black background and crop it. Let's get into it!
If you liked my tutorials, please subscribe to my YouTube channel - JTSGraph.
For this GIMP tutorial, I'll use this image, 384566.
Steps to make a fisheye effect in GIMP:
1. Draw circle selection.
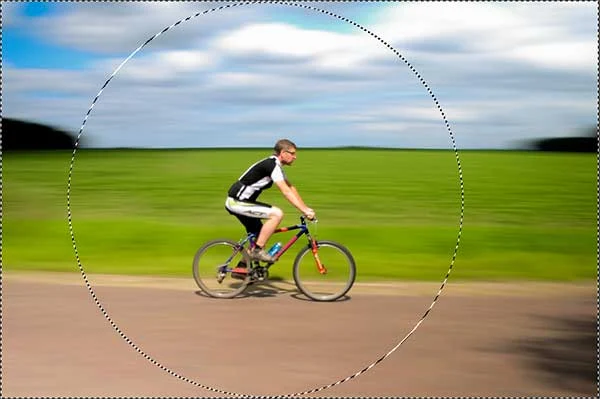
Grab the Ellipse Select tool from the toolbox (Tools> Selection Tools> Ellipse Select (E)).
In the tools options tab, check “Fixed aspect ratio” to keep the circle selection doesn't distort. You can enter value 30 for Feather edges Radius to get a smooth selection.
Click and drag your mouse to choose a portion of the document. Just leave the mouse when you are done. You should see a dotted line or marching ants outline the selection. Now, the selected portion of the document, in a circle, has been picked or selected. If you want to move the selection, click anywhere inside the selection and then drag to the position you want.
2. Create black background.
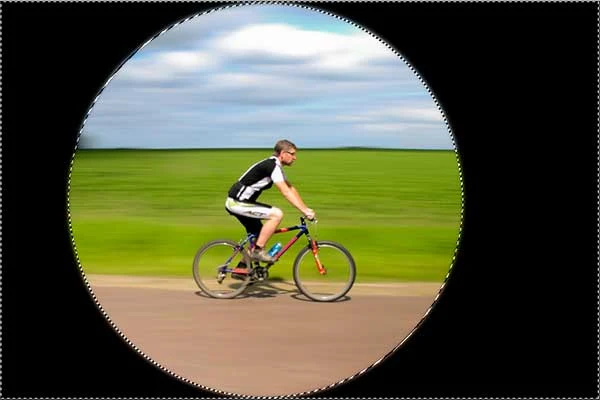
Use Select>Invert to inverts the circle selection in the current layer.
Now all of the layer contents which were previously outside of the circle selection are now inside it.
Now fill the selection with black by going to Edit>Fill with FG color.
Now black color fills the active layer selection.
Use Select> Invert to invert the selection. Now the circle portion of the document selected.
3. Apply Spherize filter.
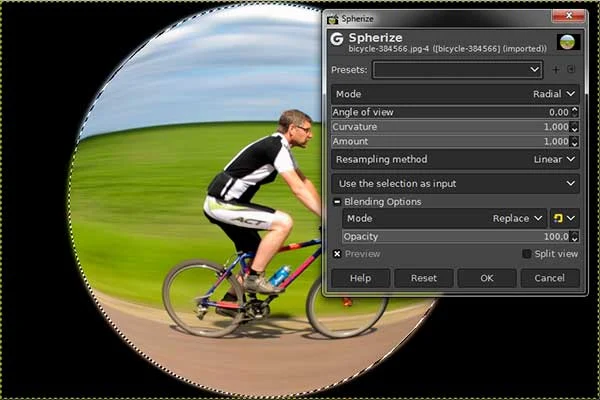
Use Filters> Distorts> Spherize. Check “Preview”, set the settings until you’re happy with the result. Choose Mode: Radial, Curvature: 1, Amount: 1. Click OK. This should add a fish-eye lens distortion to the image. Click OK when you’re done.
4. Crop image.
Use Image>Crop to Content. The image gets cropped now.
There you have it! How To Create Fisheye Effect in GIMP
A Fisheye lens is a wide-angle lens with a convex shape capable of capturing images with an angle of 180 degrees so that it can produce images with a distorted circular shape. This type of lens was developed by Nikon in 1935.
5. Save it.
Use File>Save (or Ctrl+S) to save your project file. Navigate to the folder where you want to store your project file. Type a name in the Name text box and leave the default GIMP (*.XCF) format. XCF is GIMP's native format and is useful because it stores everything about your image and will allow you to later edit your image in GIMP, in case you notice a problem. Click Save to store the project file.
6. Export Image to JPG.
Once you have finished, you will probably also want to export the image in a more widely used format, such as JPEG, PNG, TIFF, etc. Use File>Export As... Type a name and its extension like .jpg then click Export.
- How to make a fisheye effect in Photoshop
- How to make a fisheye effect in Paint.NET
- How to sharpen image with GIMP
- Sharpen an Image in GIMP (High Pass Filter)


No comments:
Post a Comment