

Learn how to create selective coloring in Photoshop. Today, I will explain how to give a color to focus on a specific object and leave black and white on the other object or commonly referred to as selective coloring. The trick is easy enough to just make adjustments Black & White and then removing an area that we want to show the color using the Eraser Tool.
Want to do it instantly without Photoshop?
Want to create that striking artistic look where the background turns black & white, but one specific subject stays in vivid color? Traditionally, this requires meticulous masking in Photoshop. But now, you can do it instantly with our free online Selective Coloring Tool below! Just pick your target color, adjust the tolerance slider, and download your masterpiece in seconds.
Steps to make a selective coloring in Photoshop:
1. Open image
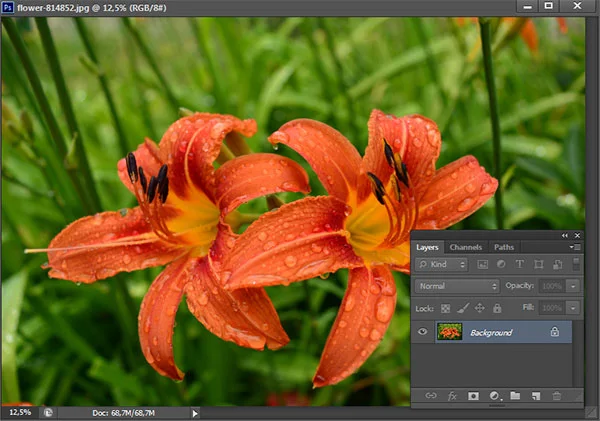
Select menu File> Open, click on your photo and then click the Open button. For this Photoshop tutorial, I'll use this image, flower-814852, that I downloaded from Pixabay.
2. Add Black And White adjustment
Choose Layer> New Adjustment Layer> Black & White to create black & white adjustment.

3. Adjust the Black & White
If you do not see the Properties window, double-click on the Black & White adjustment to display it. I will choose Preset Maximum Black to obtain a darker picture. Please select your own preset that you want.

4. Remove unwanted parts using the Eraser tool
Make sure that Black & White adjustment layer is highlighted. Click the Eraser Tool icon then Zoom your photos by pressing the keyboard keys Ctrl ++.

Set the brush size by pressing the open bracket key ([) to minimize and close bracket (]) to enlarge. Brush Eraser Tool to erase black and white color.

There you have it! Selective coloring photoshop tutorial.
No comments:
Post a Comment