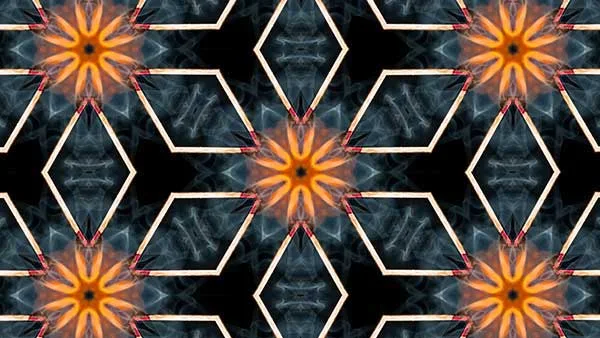
Kaleidoscope is a geometric shape composed of shapes and colors with a symmetrical arrangement. In today's GIMP tutorial, I'll show you how to create a Kaleidoscope effect in GIMP from a given image. Once the image is open in GIMP, we'll build up the kaleidoscope by creating a triangle shape, duplicating, rotating, and merging the layer several times to achieve symmetry. Let's get started!
1. Open image in GIMP
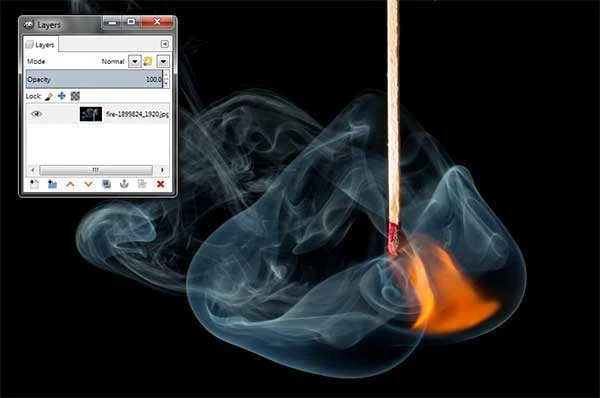
Use File>Open... command in the top menu or else just press Ctrl+O to open your image.
The Open Image dialog appears, allowing you to navigate to the file and click on its name.
Navigate through your folders in the Places panel and the Name panel until your images' name appears in the Name panel.
Click the image you want to open.
When an image file is selected, we can view the preview of the image file at the right-hand side of the box, although it's not easy to find an image based on a thumbnail.
Click the Open button.
For this GIMP tutorial, I'll use this image, 1899824, that downloaded from Pixabay.
2. Add Alpha Channel
Use Layer>Transparency>Add Alpha Channel to add transparency to the image.
3. Flip the Image Vertically
Flip the image vertically by using the Flip tool.
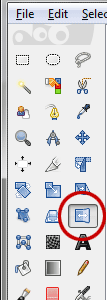
4. Grab the Rectangle Select Tool
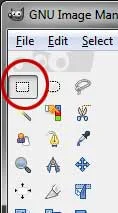
Grab the Rectangle Select Tool from the toolbox or use Tools> Selection Tools> Rectangle Select (R).
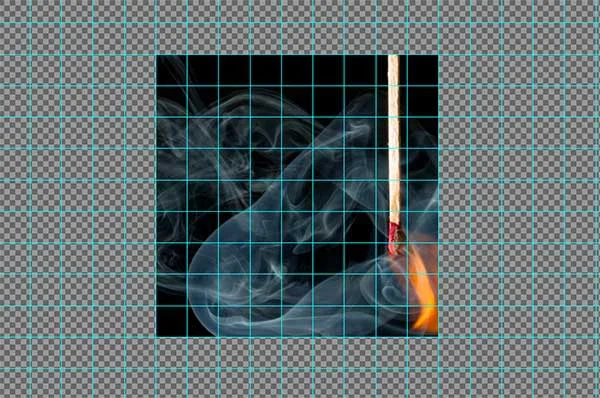
5. Show Grid
GIMP gives us The Grid, a flexible type of positioning aid.
The Grid is horizontal and vertical lines we can temporarily display on an image while we are working on it.
The Grid helps us to line up the rectangle shape.
Enable displaying Grid by going to View>Show Grid.
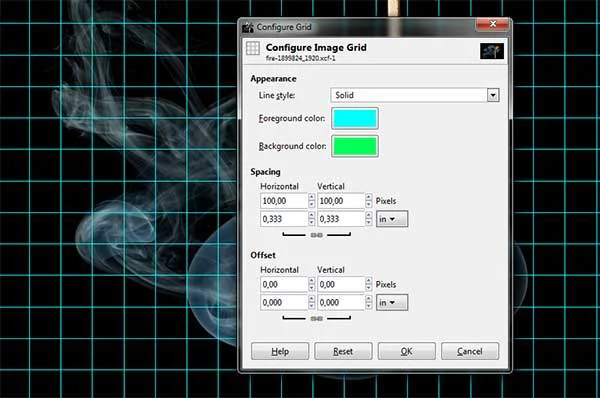
Now configure the Grid by going to Image>Configure Grid...
The Configure Grid dialog box appears.
In the Configure Grid dialog box, choose the color of the grid lines, the spacing, and offsets.
Snapping is a useful feature in GIMP that allows us to align images with the Grid.
Choose View>Snap to Grid to enable snapping that will help you to align any images or shapes you want.
6. Draw a Square Selection
Click and drag your mouse to choose a portion of the document.
Just leave the mouse when you are done.
You should see a dotted line or marching ants in a square shape outline the selection.
Now, the selected portion of the document has been picked or selected.
7. Invert The Selection
Use Select>Invert to inverts the circle selection in the current layer.
Now all of the layer contents which were previously outside of the circle selection are inside it.
8. Delete Selection
Now go to Edit>Clear or else just press the Delete key to delete everything in the current selection.
Use Select>None to remove the selection.
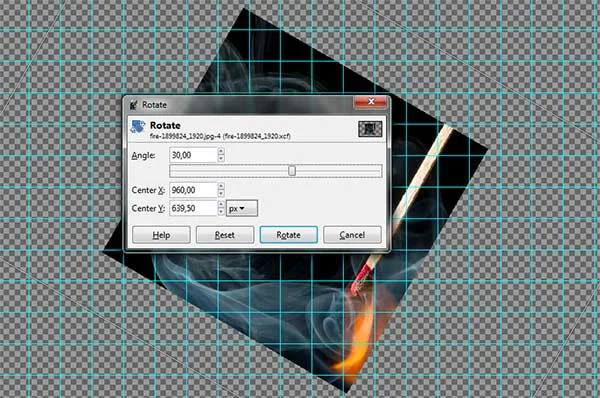
9. Rotate The Square By 30 degrees
Grab the Rotate tool from the Toolbox or use Tools>Transform Tools>Rotate.
A rotation Information dialog is open.
Set the angle by 30 then click the Rotate button.
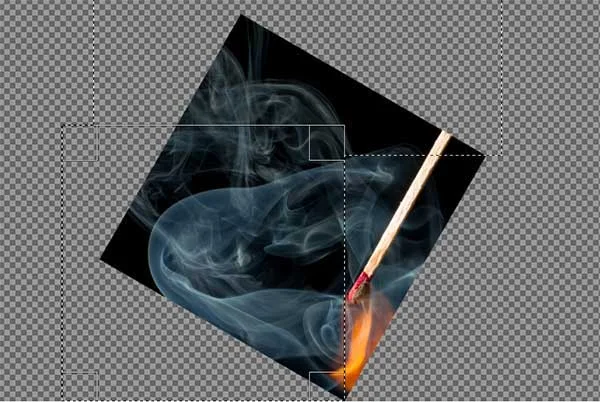
10. Create a Triangle Pattern Image Using Rectangular Marquee Tool
Grab the Rectangle Select tool again.
On the Tools Options dialog choose “Add to the current selection”.
Create two square selection and then press the Delete key or use Edit>Clear to remove the area inside the selection.
Use View>Show Grid to remove the Grid.
Remove the selection using Select>None.
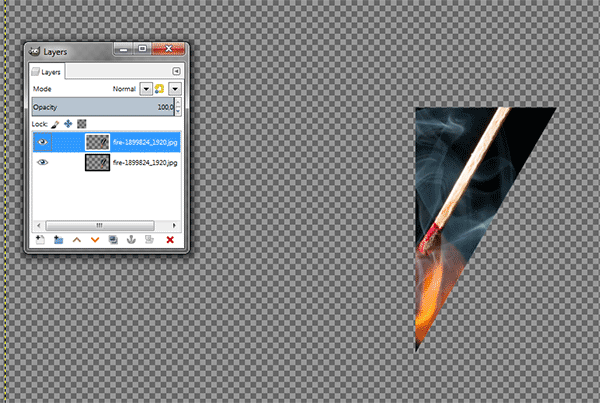
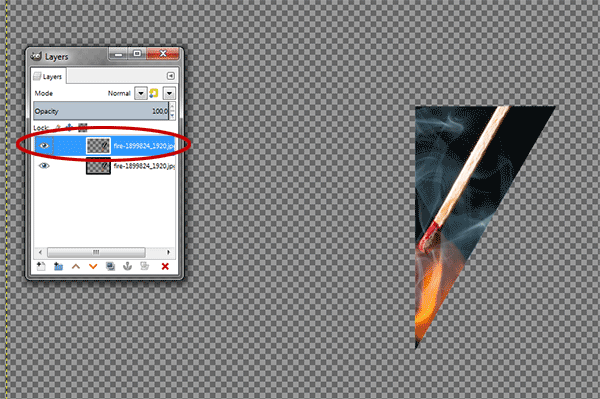
11. Duplicate The Triangle Image, Flip Horizontal and then Merge Layer
Use Layer>Duplicate Layer to duplicate the triangle image.
Grab the Flip Tool from the Toolbox.
On the Tool Options dialog select Horizontal.
Make sure the duplicate triangle layer is selected.
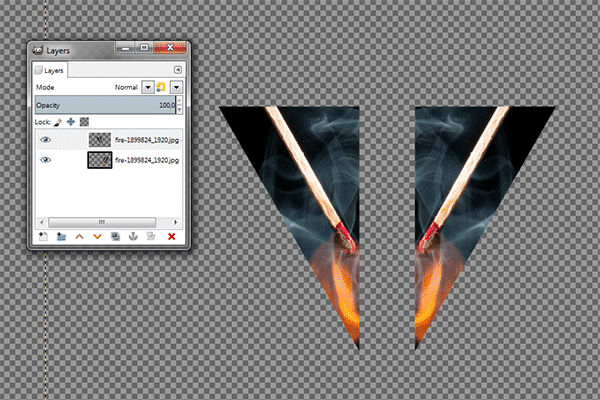
Click on the image to flip it horizontally.
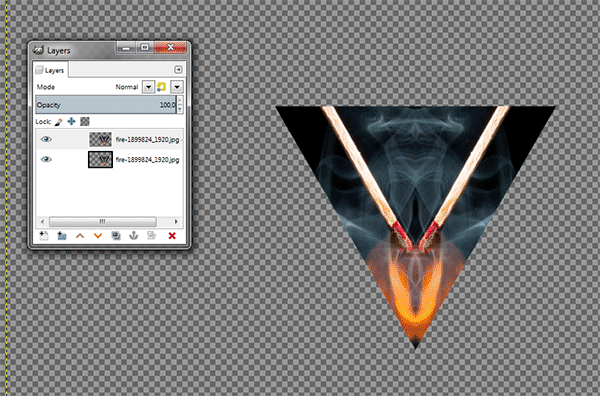
Use the Move tool to align both triangle images then use Layer>Merge Down.
Now we have a new pattern still in triangle shapes.
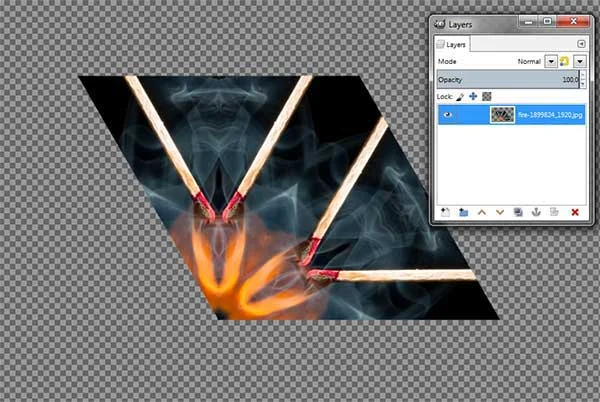
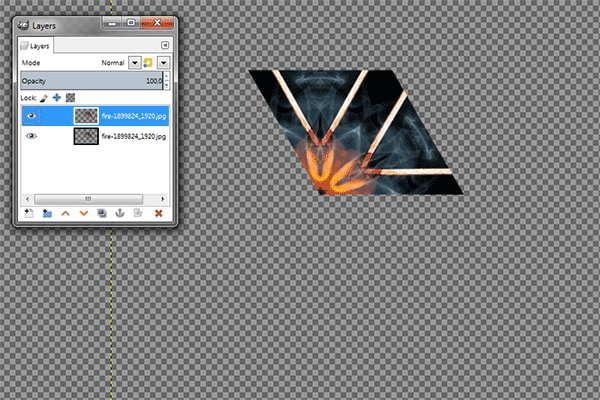
12. Duplicate The New Image, rotate by 60 degrees and then merge layer
Use Layer>Duplicate layer to duplicate the new image, use the Rotate Tool to rotate the duplicate layer by 60 degrees, use the Move Tool to align both images, and use Layer>Merge Down to merge both layers.
Now we have a new pattern in 4 sided polygon.
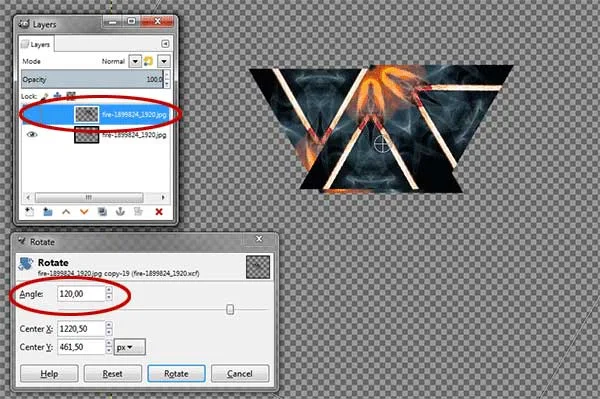
13. Duplicate the New Image, rotate by 120 degrees and then align it
Use Layer>Duplicate Layer to duplicate the new image and rotate the duplicate layer by 120 degrees using the Rotate Tool.
Align it using the Move Tool.
Now we have two layers both in 4 sided polygon shape.
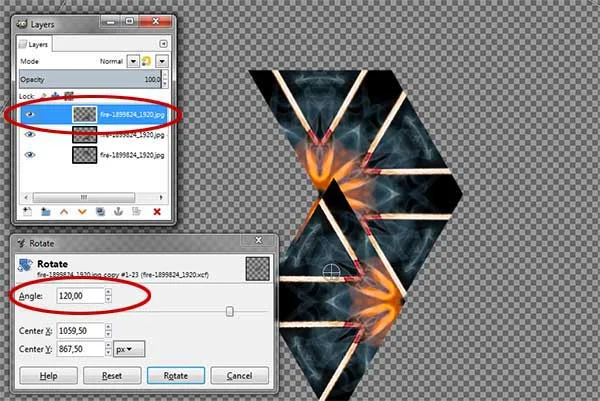
14. Duplicate The Top Layer, Rotate by 120 degrees and then align it
Use Layer>Duplicate Layer to duplicate the top layer, rotate the duplicate layer by 120 degrees using the Rotate Tool and then align it using the Move Tool.
Now we have three layers in 4 sided polygon shape.
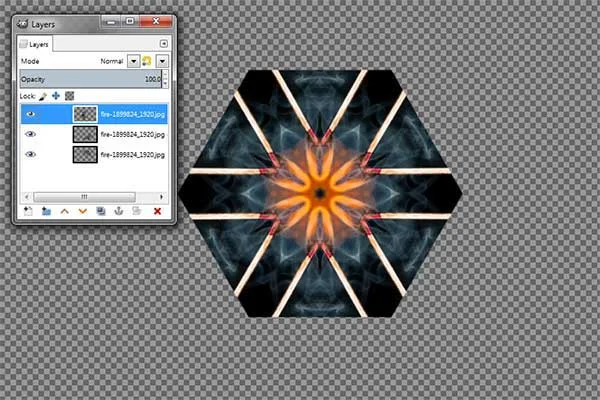
15. Merge All Layers
Merge all layers using Layer>Merge Down.
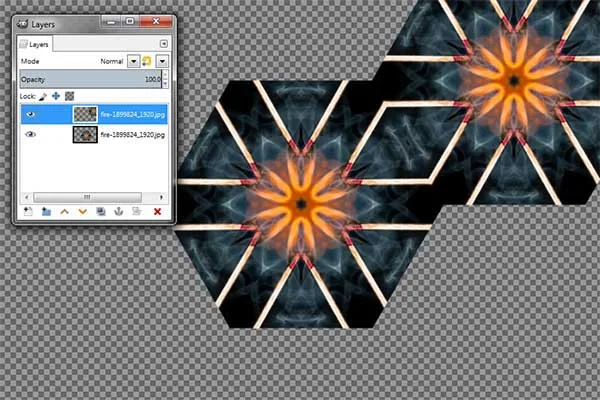
16. Duplicate The Hexagon Layer and Align it
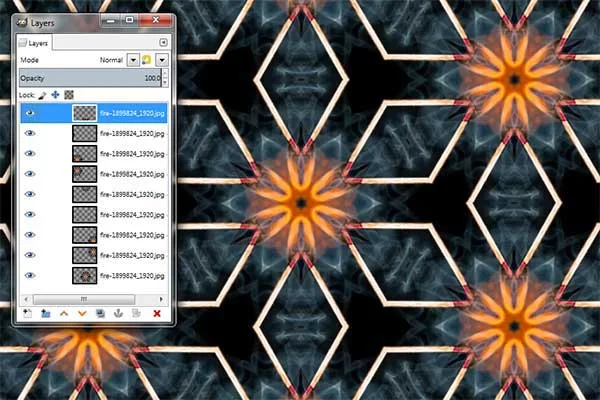
Use Layer>Duplicate Layer to duplicate the hexagon layer and Align it using the Move Tool.
Repeat these steps until your document filled with the pattern.
17. Save Your Work
Use File>Save command in the top menu or else just press Ctrl+S to save your project file.
The Save Image dialog box appears.
Navigate to the folder where you want to store your project file.
Type a name in the Name text box and leave the default GIMP (*.XCF) format.
XCF is GIMP's native format and is useful because it stores everything about your image and will allow you to later edit your image in GIMP, in case you notice a problem.
Click Save to store the project file.
Once you have finished, you will probably also want to export the image in a more widely used format, such as JPEG, PNG, TIFF, etc.
More on GIMP Tutorials:
















Good tutorial but to place some information then helpful for your reader., lastly thanks
ReplyDeleteCreate a Kaleidoscope Effect In GIMP
Thank you :)
Deletethere is already kaleidoscope filter in gimp , wht all the hassl
ReplyDelete