Learn how to use Batch Processing in Photoshop to crop multiple images at once using File>Automate>Batch. We will start off with creating two folders to store the source and cropped images, copy images into the ‘SOURCE’ folder, recording an Action to resize and crop the image, finally resizing and cropping images at once using File>Automate>Batch.
Watch the video for detailed instructions and use the written steps for quick reference.
Steps to crop multiple images in Photoshop:
1. Create two folders.
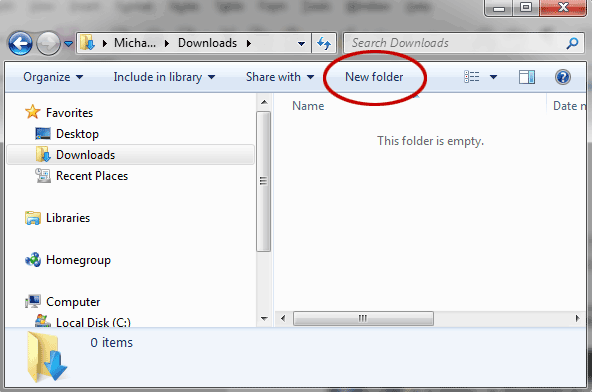
Start the Windows Explorer then create a folder by clicking the New Folder button at the top.
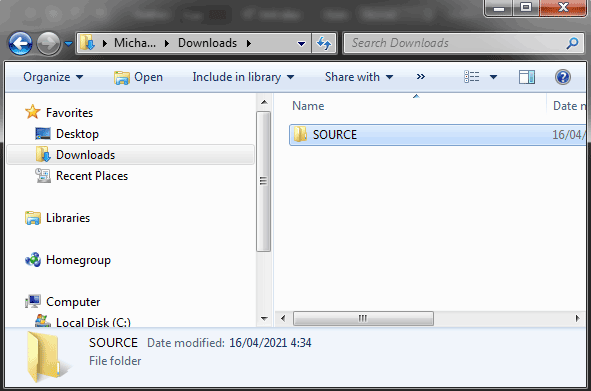
The new folder appears, with blue highlighted text. Type a new name for that folder (like “SOURCE”) then press Enter.
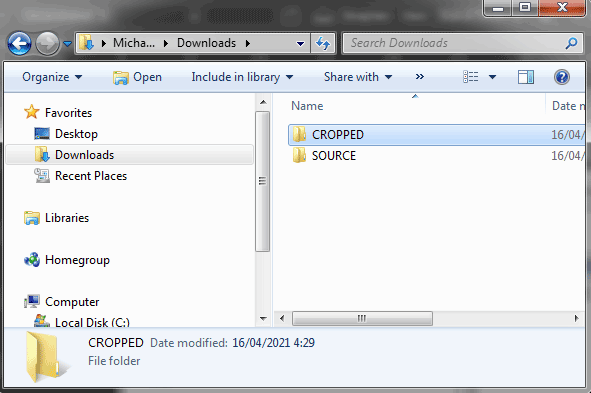
Create two folders. One folder for the source images (you can name it “SOURCE”) and another one for the cropped images (name it “CROPPED”).
2. Copy source images.
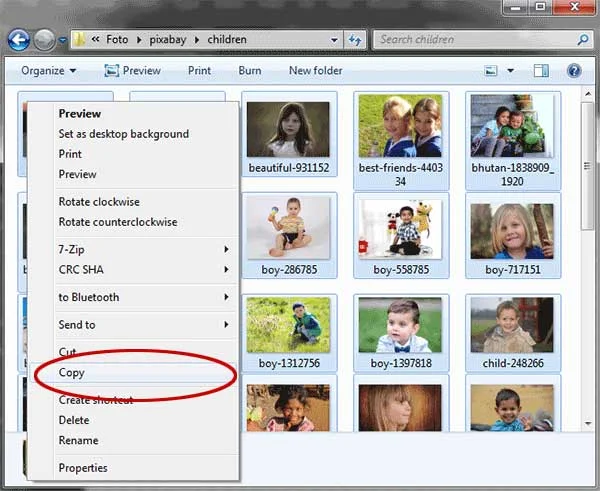
Use the Navigation pane on the left to navigate to a location on your computer where you have some images. Select the ones you want to add to your new folder. To select more than one image, hold down the left Ctrl key on your keyboard. With the Ctrl key held down, click each file you want to add.
Once you have selected your images, right click on any of them. From the menu that appears select Copy.
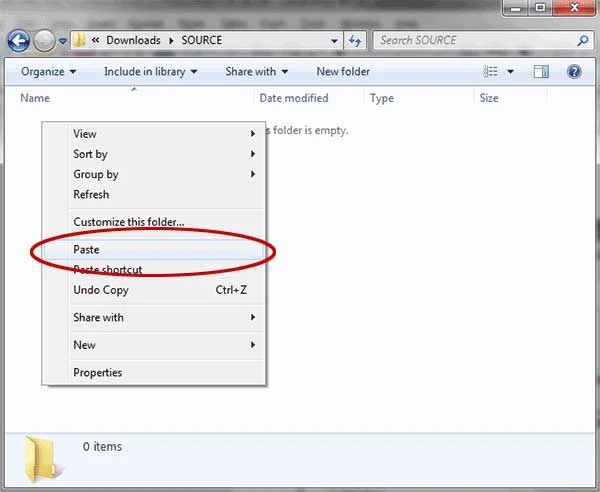
Now navigate back to the “SOURCE” folder you've just created. Double click the “SOURCE” folder to move inside of it. You should see a message on the right saying "this folder is empty". Right-click anywhere inside of the big white area and from the menu, select Paste.
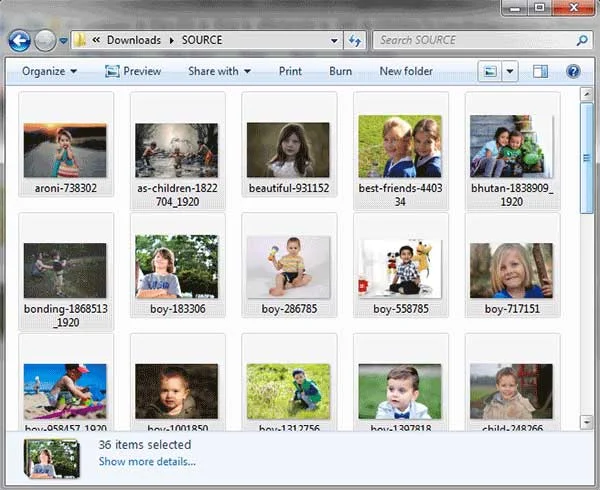
The images will be copied and pasted over to the “SOURCE” folder.
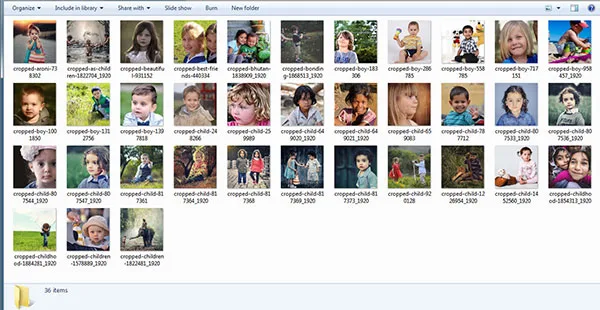
Images used in this Photoshop tutorial downloaded from Pixabay.
3. Create an Action to resize and crop image.
Select Windows>Actions or Alt+F9 to open the Action panel.
Now open an image by going to File>Open.
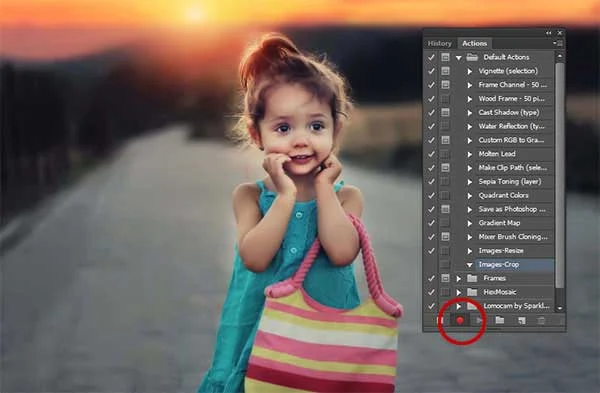
Click Create new Action icon in the Action panel.
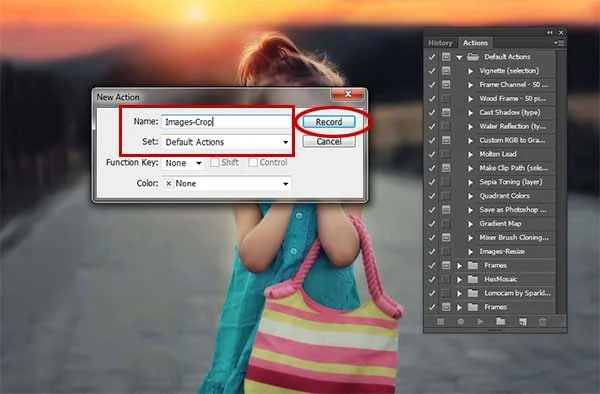
In the New Action dialog box, named the Action "Images-Crop", set to Default Actions then click the Record button.
The Begin Recording button in the Actions panel turns red.
4. Resize the image.
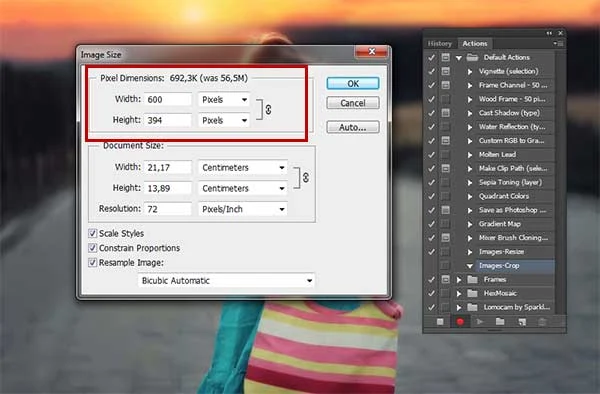
Choose Image> Image Size to perform the operations to resize the image. In the Image Size dialog box, enter the new Width and Height then click OK.
5. Crop the image.
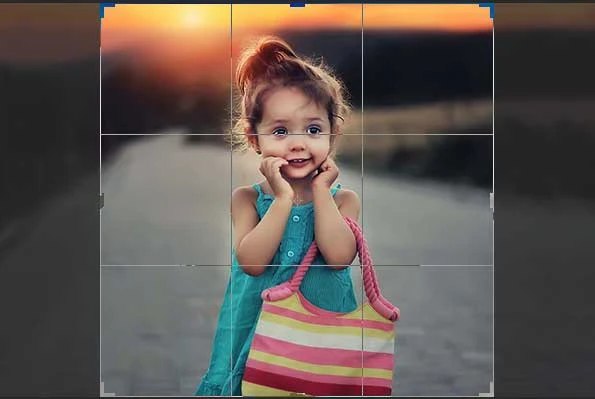
Grab the Crop Tool from the Tools bar then perform the operations to crop the image.
In the Options bar choose 1x1 (square).
You can drag mouse to move the cropped area then press Enter or click Commit button.
6. Save image.
Choose File>Save As to save the cropped image in the "Cropped" folder. In the Save As dialog box, navigate to the “Cropped” folder where you want to store the file. Type a name in the File Name text box. Click Save to store the image.
7. Stop recording.
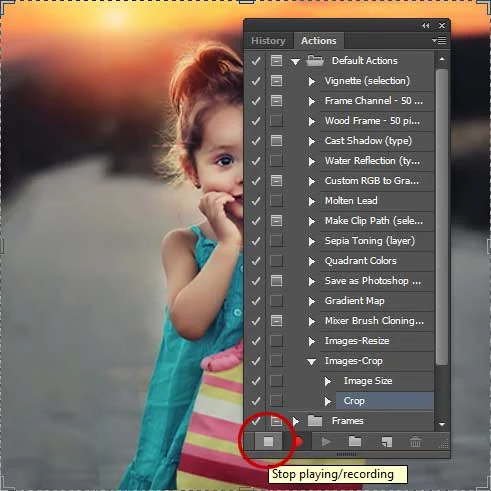
Stop recording by clicking the Stop Playing/Recording button then close the image.
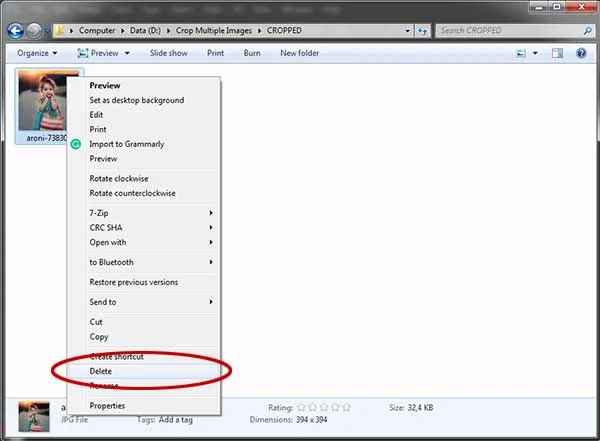
Open the “Cropped” folder. You can just delete the cropped image.
8. Start cropping multiple images.
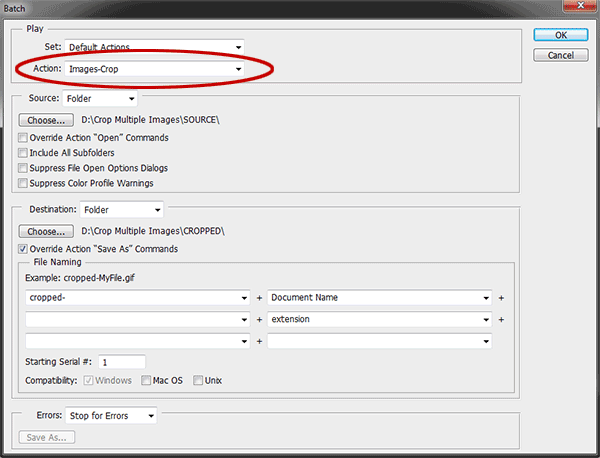
Go to File>Automate>Batch. In the Batch dialog box, choose the Images-Crop Actions you created earlier.
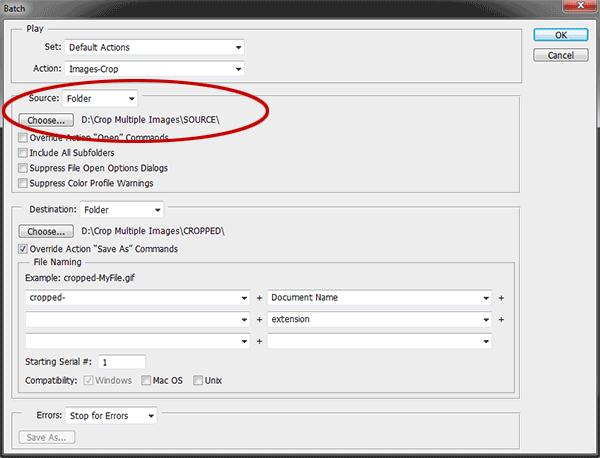
Choose the images source folder.
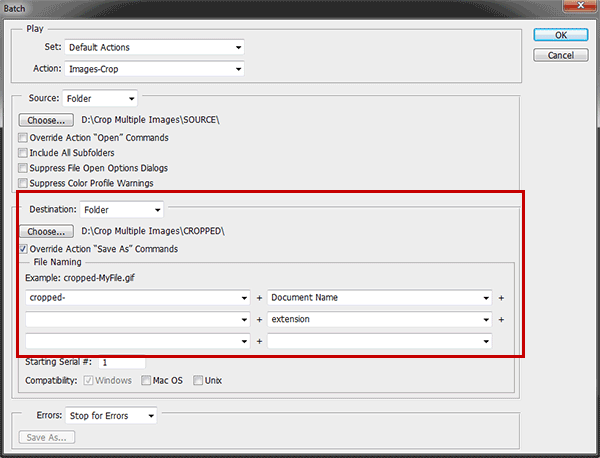
Choose the destination folder. Check "Override Action Save As Command". Type the file naming. Choose Document Name and Extension. Click OK.
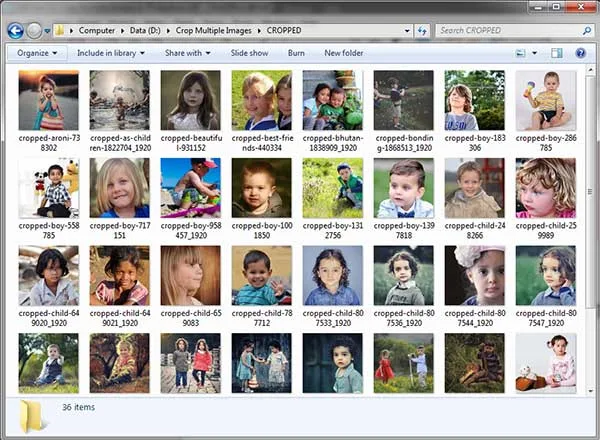
Wait for a moment until Photoshop finishes resizing and cropping your images. You can see the results in your Cropped folder. There you have it! Crop multiples images in Photoshop using Batch processing.
More on Photoshop tutorial:






Thanks, very helpful
ReplyDeleteGlad you liked it, Thank you :)
Delete100 % Work. Thanks
ReplyDeleteGlad you liked it! Thanks :)
Deleteterimakasih, membantu artikelnya gan
ReplyDeleteMakasih sudah mampir Pak :)
DeleteHi, i've follow your steps, it works. But i have still to involve in the proses. By clicking enter when the save dialog is opened. Any thoughts about this?
ReplyDeletevery helpful 100%
ReplyDeleteIt worked very well thank you !
ReplyDelete