You can visit the official website of GIMP for free download.
Here is a list of GIMP tutorials for beginners. GIMP is a free picture editing program available for Linux and Windows operating system.
If you liked my tutorials, please subscribe to my YouTube channel - JTSGraph.
Page 1 2
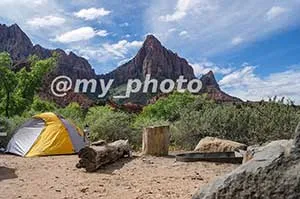
If you post your photos online, adding a text watermark or a graphic watermark on the photos is a common way to protect your photos from being misuse by other people in the internet. You can easily add a text or graphic watermark to photos using free picture editing application, such as GIMP. The trick is to open an image/logo on photo using open as layer. Then adjust its position and size. Finally, reduce the opacity of the logo by dragging the opacity slider to the left to give a semi-transparent effect.
If you post your photos online, adding a text watermark or a graphic watermark on the photos is a common way to protect your photos from being used by unauthorized people in the internet. You can easily add a text watermark to photos using free picture editing application, such as GIMP. The trick is to write text on photo using the Text tool. Then adjust the font type and font color (usually black or white). Finally, reduce the opacity of the text by dragging the opacity slider to the left to give a semi-transparent effect.
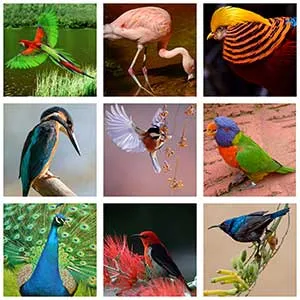
In this tutorial, you will learn how to create a Grid photo collage in GIMP. We will use guides Image> Guide> New Guides (by percent) to help us positioning images precisely, File> Open As Layers command to insert images and Rectangle select (Tools>Selection Tools>Rectangle Select) to draw selections.
Snow effects with GIMP can be made by utilizing a noise filter, pixelize and motion blur. Noise applied to be manipulated into snowflakes, pixelize to give an effect of snow crystal grains, and motion blur to set the length and direction of the snow. Meanwhile, to adjust the amount of snow, we can use the Levels command. Snow effects created on a separate black color layer with screen blend mode in order to blend with the photo.
Here is a tutorial on how to create neon text in GIMP. GIMP application has a Neon filter that we can use to give neon text effect. You can edit later, the neon effect produced by this filter as you wish.
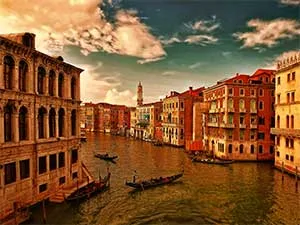
We can create sunset effect in our photos using free picture editing software, GIMP. The steps are, create a new layer then fill it with orange color and change its blend mode to soft light or overlay. This way, it will be obtained the orange color effect that blends with the photo in order to obtain the effect of sunset.
Here is a tutorial on how to make a pop art effect in GIMP. The first step is removing photo color with desaturate command, then make a selection using the Scissor select tool, apply color posterize command, use despecle filter to smothes the posterize effect and lastly, give color using a gradient tool.
Here is tutorial on how to create a polar panorama effect in GIMP using Filters> Distorts> Polar Coordinates command. Before applying polar coordinate filter, the image height and image width must be the same. You can change it using Image>Canvas Size command. Next, use the Scale Tool to adjust image height in canvas.
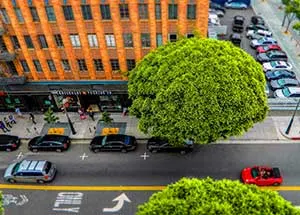
This tutorial will explain how to transform a photograph into a miniature using GIMP application. The trick is to make a lengthwise selection on the photo using Quick Mask, then we apply gaussian blur filter, and finally we adjust the hue-saturation.
We will use guides Image> Guide> New Guides (by percent) to help us positioning images precisely, Rectangle select (Tools>Selection Tools>Rectangle Select), File>Export command to create pattern and Bucket Fill (Tools>Paint Tools>Bucket Fill) to fill the layer with the mosaic pattern.
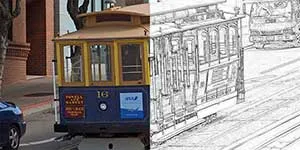
Here is a tutorial on how to turn a photo into hand sketch drawing using the free photo editing software GIMP. Make sure you have already backup your photo. Firstly, duplicate the layer then change its blend mode from normal to Dodge. Invert the picture's color by going to Colors>Invert command. The next step is applying value propagate filter for two or three times until you get the desired effect of hand sketch.
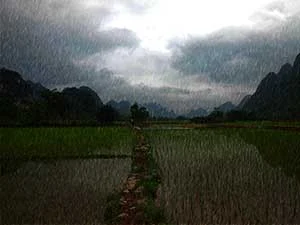
How to create a rain effect with GIMP can be done by providing noise filter on a picture and then we apply motion blur filter. The next step is to adjust the noise using levels, so that we can get rain effect as desired. Rain effect were created on its own layer so that it's not damage the original photo. The final step is changing the blend mode to Screen or Overlay.
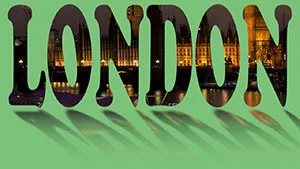
Put An Image Inside Text using GIMP is pretty easy to do. What we need to do is create an empty layer above the layer image and then make a selection from the text that we create and delete parts of the selection so that a portion of the photo will look appears on text. To make a selection from the text we can use the command Layer> Transparency> Add to selection.
GIMP has a Filters> Light And Shadow> Lens Flare that can be used to add the effect of sunlight on the photo. This effect is suitable added to the photo that is a bit dark. If your picture is not too dark, you can adjust it using Colors> Bightness-Contrast or using Curves.
In this tutorial I will use a filters> noise> spread. Of course, You can use the other filters. After giving the filter, turn off QuickMask mode. Invert selection and fill the selection with the background color.
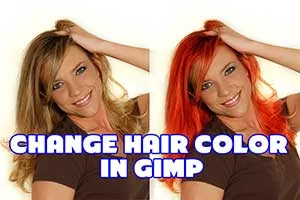
The first step is to create a new layer and set its blending mode to Overlay to accommodate hair color. Then fill the layer with the hair color that we want. Furthermore, given layer mask to hide the hair color. Use the paintbrush to remove part of the layer mask on the hair so the hair color will appear.
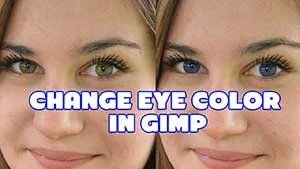
Changing eye color with GIMP can be done by making a selection on the eyeball using path tool and then use the command Colors> Hue-Saturation. Colors can be changed simply by adjusting the slider Hue, Lightness and Saturation.
By applying sharpening effect, we can remove fuzziness from our images. Making sure your images are sharp is a necessity. In this tutorial, you will learn how to sharpen photo in GIMP using Filters>Enhance>Unsharp Mask command.
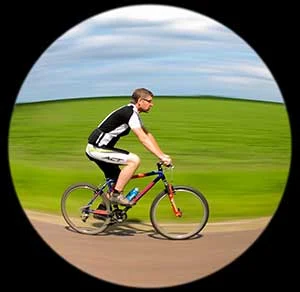
In this tutorial, we are going to learn how to create a Fisheye effect using Ellipse Select Tool (Tools>Selection Tools>Ellipse Select) and Lens Distortion filter (Filters> Distort> Lens Distortion) that comes with GIMP.
Weave effect can be created easily using GIMP by applying Filters>Artistic>Weave command to your image. The weave command is a Script-Fu script which cerates a new layer filled with a weave effect on top of your image's layer.
Page 1 2


